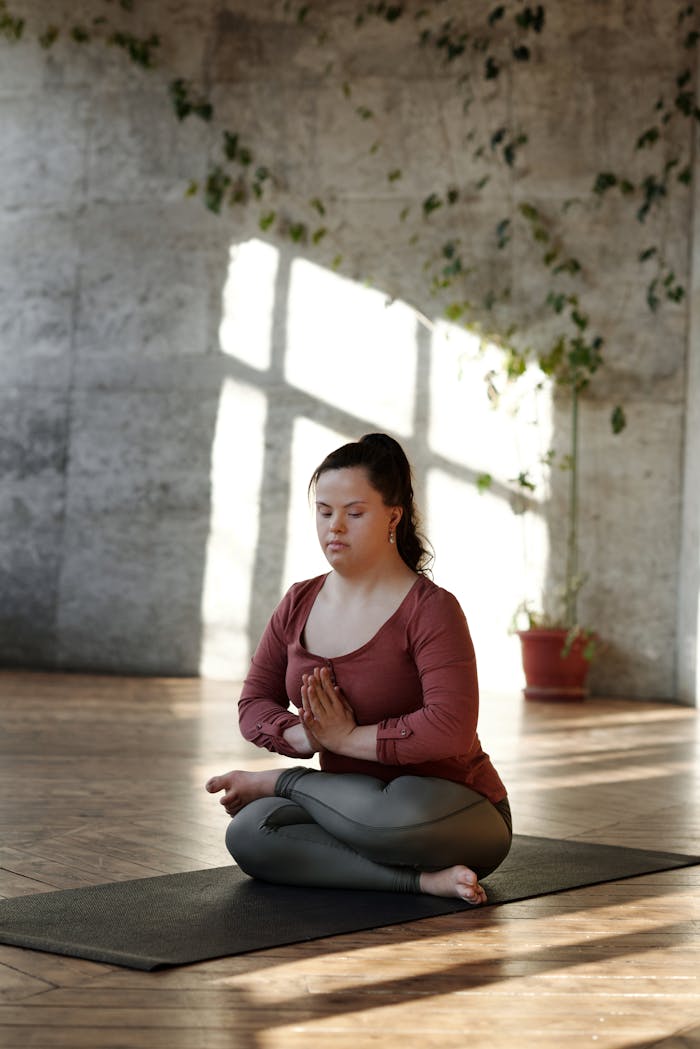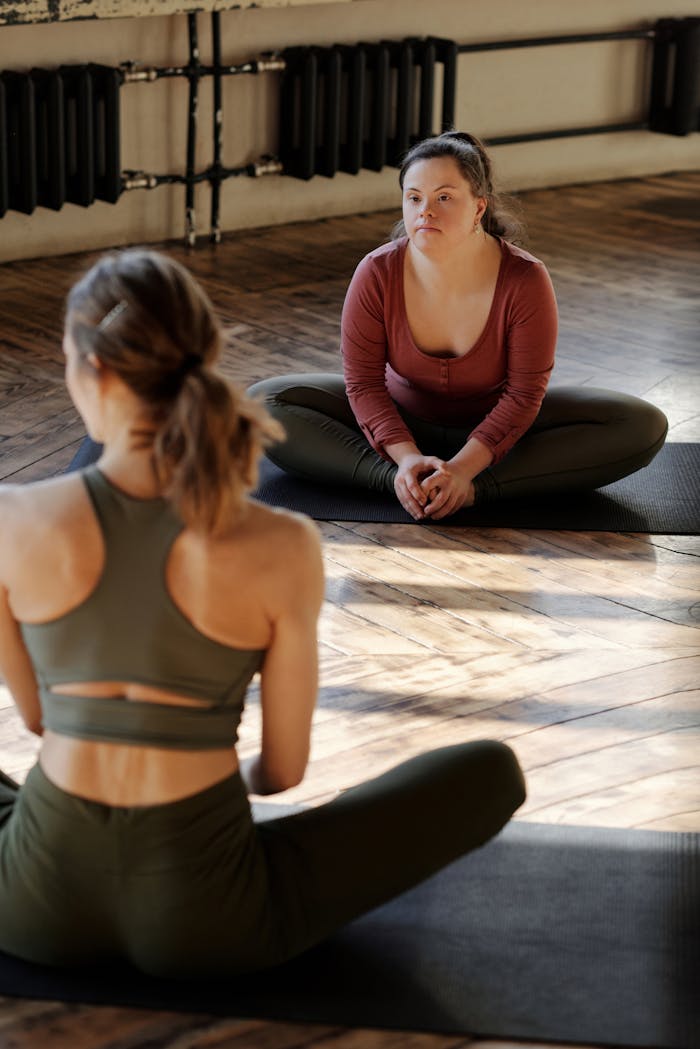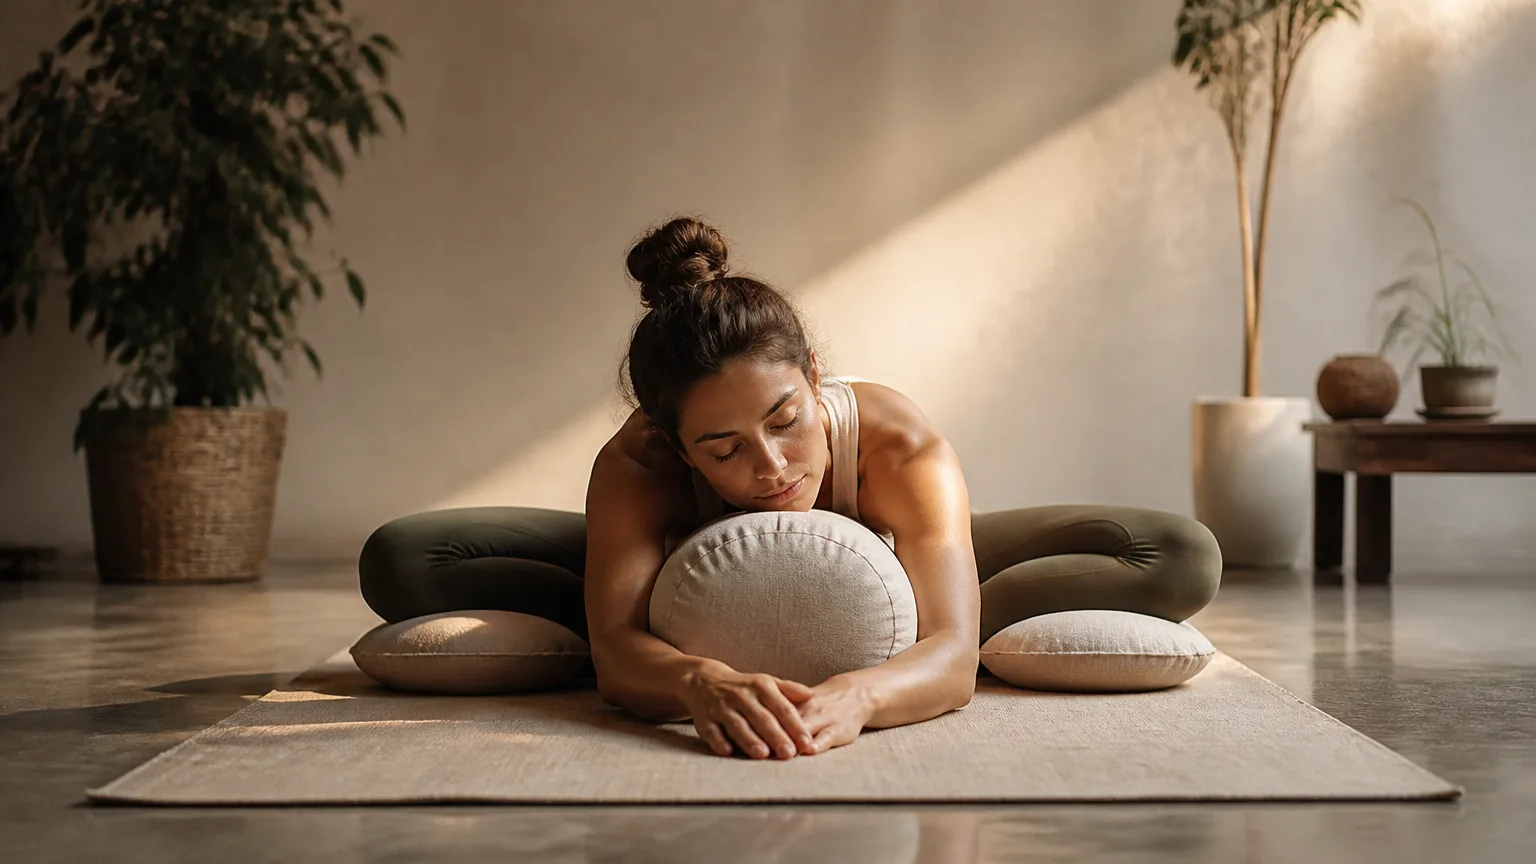
Yin yoga poses offer a quieter way to move, with supported, mostly floor-based shapes held for a few minutes at a time. Instead of flowing from one posture to the next, you settle in, notice your breath, and give your body room to soften.
The aim isn’t to force a stretch or achieve a particular shape. Flexibility is personal, and a calm, comfortable practice matters more than how deeply you fold or how long you hold a pose. Look for a manageable sensation, and ease out if you feel sharp pain, numbness, or strain.
The ten shapes ahead are options, not a checklist. Adapt them with cushions or folded blankets, combine the ones that feel helpful, or skip any that don’t suit your body or energy today. If you’re new to yoga, you might also explore these beginner-friendly yoga exercises to build confidence with movement. Let this practice meet you where you are, one mindful breath at a time.
How Yin Yoga Works: Long Holds, Sensation, and Support
Unlike a faster flow, Yin yoga invites you to settle into fewer shapes and stay still for a while. Poses are typically held for a few minutes, giving you time to notice how your body responds. If you’re new to the practice, start with shorter holds and gradually build at a pace that feels comfortable. You can always shift or leave a pose whenever you need.
In Yin, sensation is a guide—not a goal to push toward. A broad, tolerable stretch may feel steady or gently intense, but sharp pain, numbness, tingling, or pressure in a joint are signs to ease out. Adjust your position, add support, or choose a different shape. Your experience may also change from day to day, so keep checking in with your breath and body.
Props can make stillness feel more welcoming. Try a folded blanket beneath your knees, a cushion under your hips, or a block to support your hands. Small adjustments can help you relax without forcing a deeper stretch. For ideas on choosing a yoga prop kit, consider what would support your comfort and practice.
Every body has its own structure and range of motion, so no pose needs to look a certain way. Let the shapes meet you where you are, and use support freely as you explore these yin yoga poses.
1. Butterfly Pose (Bound Angle Fold)
Begin seated, bringing the soles of your feet together and letting your knees open comfortably to the sides. If your hips or lower back feel tight, sit on a folded blanket to help your spine rest in a more upright position. Place your hands around your ankles or feet, or let them rest on the floor beside you.
As you settle into this yin yoga pose, let your spine soften and lean forward only as far as feels easy. There’s no need to pull your knees down or reach toward your feet. For extra support, place a cushion in front of you and rest your forehead on it, allowing your shoulders and neck to relax.
With time and gentle breathing, you may notice a mild, steady stretch around your inner thighs and hips. These sensations can shift as your body settles; they should not feel sharp or strained. If your knees or groin feel uncomfortable, ease out of the fold, add more support beneath your knees, or sit more upright. Choose a shape you can breathe in comfortably, and let stillness—not depth—guide your practice.
2. Caterpillar Pose (Seated Forward Fold)
Sit with your legs extended in front of you, leaving a little space between them if that feels more comfortable. Bend your knees softly, and place a folded blanket beneath your hips if sitting upright feels difficult. In this gentle shape, your legs don’t need to be perfectly straight.
As you exhale, tip forward from your hips and let your torso rest wherever it naturally lands. If rounding your back feels comfortable, allow it; there’s no need to force a flat back or reach for your feet. Rest your hands on your legs, or place a bolster or pillows across them to support your torso.
Stay for one to three minutes, breathing easily and noticing how your body responds. A mild, steady stretch may be welcome, but sharp or increasing discomfort is a cue to adjust. If your back or hamstrings feel uncomfortable, come out slowly: lift your torso with your hands, bend your knees more, and pause before sitting upright.
Among yin yoga poses, Caterpillar offers a quiet chance to soften rather than deepen a stretch. Use as much support as you need, and let comfort guide your time in the shape.
3. Dragonfly Pose (Wide-Legged Seated Fold)
Sit on the floor and open your legs into a comfortable V shape. Keep the width modest; your legs should not feel pulled or strained. If your hips feel tight, sit on a folded blanket to help your pelvis tip forward more easily.
You can stay upright, letting your hands rest beside you, or hinge forward gently from your hips. For support, place a cushion or bolster in front of you and rest your arms or torso on it. There’s no need to fold at all—the upright version is a complete pose, too.
Settle into a shape where your inner thighs and hips feel a mild, steady sensation, not sharp discomfort. If your knees or groin feel strained, bring your legs closer together or add support beneath your knees. Breathe slowly and let your shoulders soften as you rest.
Like other yin yoga poses, Dragonfly invites patience rather than a deeper stretch. Stay for a few comfortable breaths or longer, adjusting whenever your body asks. When you’re ready to come out, use your hands to lift your torso slowly, then bring your legs together without rushing.
4. Bananasana (Side-Body Stretch)
Bananasana is a reclined crescent shape that gently lengthens one side of your body. Among yin yoga poses, it offers a quiet way to explore a side-body stretch without making a dramatic bend.
Lie on your back with your legs extended and arms resting by your sides. Keep your shoulders and hips relaxed. Slowly walk your feet a little to the right, then shift your hands and arms overhead to the right. Let your body form a soft curve; move only as far as you can relax and breathe easily.
Notice the stretch along your left side, from your ribs toward your hip. Keep both shoulders grounded, and let the shape stay small if your lower back or shoulder feels pinched. You can also rest your arms lower or place a folded blanket beneath your head for comfort.
Stay for several slow breaths, or longer if the position feels easeful. To come out, bring your arms and legs back to center gradually, then pause before switching sides. Follow the same steps in the opposite direction, adjusting each side independently. Your range may differ from one side to the other, and that’s completely normal.
5. Sphinx Pose
Sphinx Pose is a gentle prone backbend that can bring a comfortable lift through your chest. Lie on your belly with your legs relaxed behind you, then place your forearms on the floor and lift your upper body. Let your shoulders soften away from your ears, and keep your breath easy.
Position your elbows beneath or slightly in front of your shoulders. Moving them closer to your body usually makes the backbend gentler; sliding them farther forward may increase the lift. Explore gradually, choosing a position that feels steady rather than intense.
Let your hips and legs rest heavily on the floor as you breathe. Stay for a few comfortable breaths, or longer if your lower back feels at ease. If you notice compression there, lower your chest by walking your elbows forward or resting your forehead on your hands. You can also place a folded blanket beneath your pelvis for support.
To leave the pose, lower your chest slowly and rest your head to one side. Like other yin yoga poses, Sphinx is an invitation to find a shape that suits your body, not to push for a deeper backbend.
6. Seal Pose
Seal Pose is a stronger variation of Sphinx, with straighter arms and a higher lift through the chest. It can bring a deeper stretch to the front of the body, but more height isn’t always more helpful. Let your comfort and breath guide the choice between these yin yoga poses.
Lie on your belly with your legs relaxed behind you. Place your palms beneath or slightly ahead of your shoulders, then gently press into your hands to lift your chest. Keep your elbows soft or straighten your arms only as much as feels steady, with no pinching in your lower back.
Stay for a few comfortable breaths, letting your shoulders remain relaxed and your gaze easy. If Seal feels too intense, lower onto your forearms and return to Sphinx. If your back, wrists, or shoulders don’t welcome the added intensity, rest on your belly instead.
To come out, bend your elbows and lower your chest slowly. Turn your head to one side and rest, noticing how your body feels before moving on. Like every shape in this practice, Seal is optional; choose the version that lets you breathe with ease.
7. Swan Pose (Yin Pigeon)
Swan, also called Yin Pigeon, is a one-sided hip shape that invites you to settle and breathe. From hands and knees, bring one knee forward and place your shin at a comfortable angle. Let your front foot stay relaxed; your shin does not need to be parallel to the mat.
Extend your other leg behind you, keeping the hips supported and as level as feels natural. If your front hip lifts far from the floor, place a folded blanket or cushion beneath it. You can also keep your torso upright or fold forward over a bolster—choose a position where your breath stays easy.
Hip structure and range of motion vary, so there’s no need to match a particular shape. Never force your front shin into a parallel line. If you feel pressure in your knee or hip, ease out and try reclined figure four instead: lie on your back, cross one ankle over the opposite thigh, and gently draw that leg toward you.
Stay for a few comfortable breaths or longer, then come out slowly and pause before switching sides. Like other yin yoga poses, Swan is an invitation to find steadiness and support, not to push deeper.
8. Shoelace Pose
Shoelace Pose is a seated, hip-focused shape that can invite a gentle stretch around the outer hips. Sit on a folded blanket or firm cushion to raise your hips and make it easier to settle comfortably.
Bend your knees and bring them toward one another, placing one leg in front of the other. Your knees do not need to stack or align. Let your legs settle only as far as they can without knee discomfort; you can also keep one leg extended if that feels more supportive. Switch which leg is in front after your hold, noticing that each side may feel different.
Keep your torso upright and breathe slowly, allowing your hips to soften without forcing the position. If your hips and knees remain comfortable, you might hinge forward slightly, resting your hands on the floor or a cushion. A forward fold is optional; stay upright if that feels better.
If sitting or bending your knees is uncomfortable, try a reclined figure-four instead. Lie on your back, cross one ankle over the opposite thigh, and keep your head and shoulders relaxed. Like other yin yoga poses, Shoelace can be adapted to your body—comfort matters more than matching a particular shape.
9. Reclined Spinal Twist
After exploring shapes that may feel more active, settle onto your back for a gentle Reclined Spinal Twist. Bend your knees and place your feet on the floor, then open your arms out to the sides or rest your hands on your belly. Take a few easy breaths and notice how your back meets the mat.
Let both bent knees lower slowly to one side. Keep the movement small enough that your breath stays comfortable; your knees don’t need to reach the floor. Place a cushion beneath them so your legs can rest without effort. Let your shoulders feel supported, and keep your head facing upward if turning your neck feels strained.
Stay for a few comfortable breaths or longer, allowing your body to soften into the support. A mild sense of stretch may be welcome, but ease matters more than the depth of rotation. If your shoulder, back, or neck feels strained, bring your knees closer to center or adjust the cushion.
Return your knees to center slowly, pause, and try the other side. Each side may feel different, so make adjustments as needed. Among yin yoga poses, this twist is a reminder that gentle support can make space for relaxation.
10. Legs Up the Wall (or a Supported Legs-Up Rest)
To finish your practice, try this gentle, restorative shape. Sit beside a wall, then lower onto your back as you swing your legs up. Let your hips rest at a comfortable distance from the wall; they don’t need to touch it. If the setup feels awkward, place your calves on a chair or bed instead, with your knees softly bent.
Support your head with a folded blanket if that helps you relax, and add a cushion beneath your knees if they feel tense. You can also place a blanket under your body for warmth and comfort. If you’re choosing a yoga mat for a comfortable practice, a cushioned surface may make resting feel more inviting.
Stay for a few easy breaths or longer, letting your arms rest wherever they feel natural. This shape is an option for quiet rest, not a medical treatment. If you notice pressure, tingling, or discomfort, leave the pose and choose another comfortable position.
When you’re ready, bend your knees and roll onto your side. Pause there before slowly sitting up. Like all yin yoga poses, this supported rest can be adjusted—or skipped—to suit your body today.
Build a Calm, Balanced Yin Yoga Practice
You don’t need to work through every shape in one sitting. Choose a few that feel right for your energy today, balancing forward folds, backbends, hip work, and rest. A simple session might include a forward fold, a supported backbend, one hip-focused shape on each side, and a few minutes of quiet rest.
Move at an unhurried pace, especially when changing positions or switching sides. After a deeper shape, pause in a comfortable neutral position—lying on your back or belly, for example—and notice how your body feels before continuing. Give each side its own time; your range and sensations may differ.
Let your breath be an anchor, not a task to perfect. Breathe naturally and notice whether your face, shoulders, or jaw can soften. If your breath feels restricted or a sensation becomes sharp or strained, ease out or add support. Stillness should feel manageable, and you’re always welcome to change your plan.
A calm setting can make it easier to settle in. Choose comfortable yoga clothing in soft layers, so you can stay warm without feeling restricted as your body becomes still. Dim lighting, a blanket, and a quiet, low-pressure atmosphere can also help. You might enjoy a mindful creative practice before or after your session to carry that sense of ease into the rest of your day.
Frequently Asked Questions
After exploring different shapes and ways to make your practice more comfortable, you may still have questions about what to expect. These simple guidelines can help you approach Yin yoga with patience while keeping your needs at the center.
How long should beginners hold Yin poses?
Beginners can start with holds of one to three minutes, or even just a few comfortable breaths. There’s no need to stay longer to make a pose worthwhile. As you gain experience, you can gradually explore longer holds if they feel manageable.
Can Yin yoga improve flexibility?
Regular practice may support flexibility and help you become more familiar with your range of motion. Changes vary from person to person and may depend on factors such as your body, practice, and daily habits. Rather than aiming for a particular result, notice what feels comfortable and available to you over time.
Is it normal to feel discomfort?
A mild, steady sensation of stretch or pressure can happen, but sharp pain, pinching, or nerve-like sensations are reasons to ease out of the shape. Tingling or numbness is also a signal to change position rather than wait for it to pass. If you have an injury, significant pain, a relevant health condition, or pregnancy-related concerns, seek individualized guidance from a qualified professional before practicing.
How often can someone practice Yin yoga?
The right frequency depends on your comfort, schedule, and how your body responds. Some people enjoy a gentle session once or twice a week, while others practice more often with suitable guidance and adjustments. Start at a pace that feels sustainable, and take a break if you feel sore or unusually tired. If you’re unsure what’s appropriate for your circumstances, ask a qualified professional who understands your needs.
Make Space for a Gentler Kind of Progress
Yin yoga is not a test of flexibility or a race toward a deeper shape. These long holds can create space for quiet, relaxation, and gradual exploration of your range when you move with patience and respect for your limits. Support, stillness, and comfortable breathing matter more than how a pose looks.
You don’t need to try all ten yin yoga poses at once. Begin with one or two accessible shapes, and give yourself permission to adjust, rest, or skip a pose whenever you need. Those choices are part of the practice, not a step away from it.
As you finish, take a moment to notice how your body feels. Perhaps you feel calmer, warmer, or simply more aware of your breath. Let that experience—not pose depth—be your measure of progress, and return to your practice in a way that feels kind and sustainable.