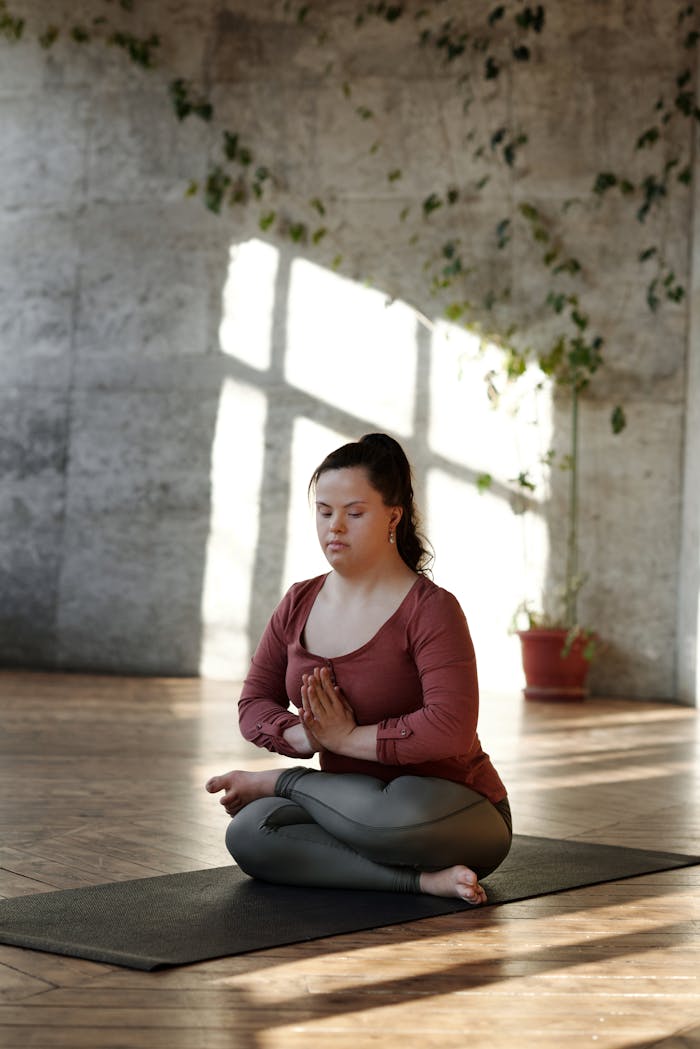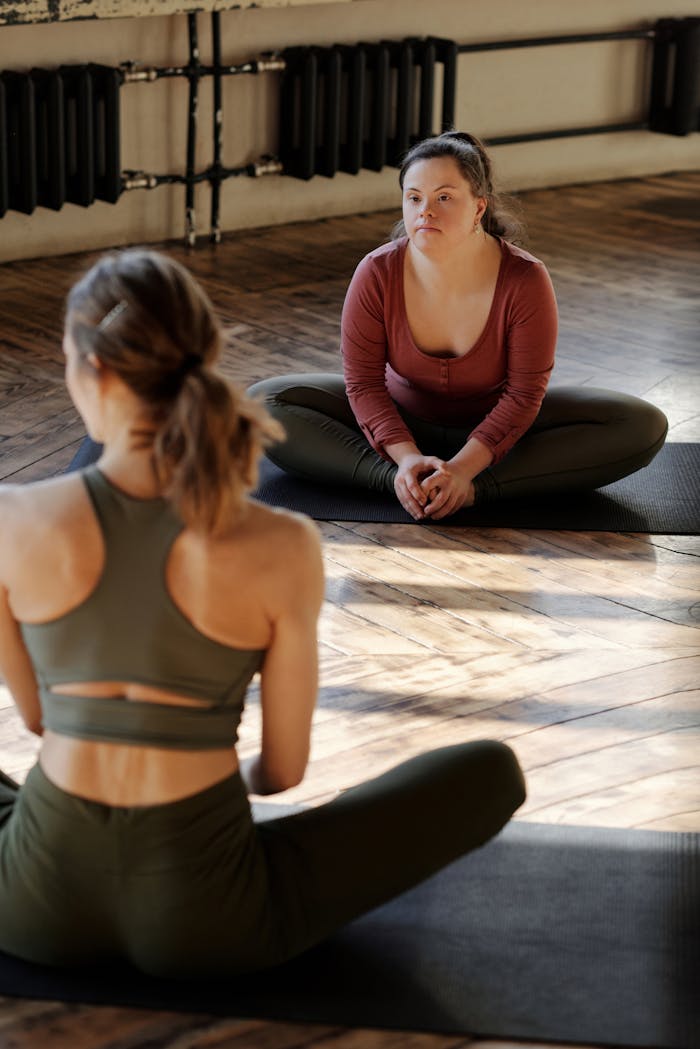
Starting yoga doesn’t require experience, special flexibility, or perfect balance. These beginner-friendly yoga exercises offer a steady way to build strength, balance, and flexibility while learning to move with your breath.
Yoga is more than a physical workout. Pairing mindful movement with breathing can support a sense of calm and overall well-being, too. Think of each pose as an opportunity to notice how your body feels—not a test of how far you can stretch.
You can practice the poses individually or combine a few into a short sequence. Adapt them to your needs, take breaks, and use a wall or chair for support when helpful. Consistency matters more than pushing through discomfort.
As you explore these foundational movements, let your practice grow at a pace that feels right for you. Visit Joyous Yoga for more yoga and mindfulness inspiration to support your journey.
Before You Begin: Set Up a Comfortable, Safe Practice
You don’t need a special studio to begin. Choose a clear space and a stable, nonslip surface, such as a yoga mat or secure rug. Wear comfortable clothing that lets you move freely. Blocks, a folded blanket, or a sturdy chair can offer support, but simple adjustments are welcome too.
Start gently, moving within a range that feels comfortable for your body today. Breathe steadily, and take your time as you move between poses. A smooth transition matters more than matching an idealized shape. If you feel sharp pain, dizziness, or unusual discomfort, pause and rest. For health concerns or questions about whether a pose is right for you, seek guidance from a qualified professional.
As you explore these yoga exercises, let curiosity—not pressure—guide your practice. Small adjustments can help you feel more balanced and supported. If you’re considering a group class, beginner tips for choosing a yoga class can help you find an environment that feels welcoming.
1. Mountain Pose (Tadasana): Find Your Foundation
Mountain Pose may look like simply standing, but it’s a useful place to begin building posture, body awareness, and balance. The quiet stillness invites you to notice how you stand, creating a foundation for other standing poses and yoga exercises.
Stand with your feet grounded comfortably, about hip-width apart or closer if that feels steady. Keep your knees soft rather than locked, lengthen your spine, and let your shoulders relax. Rest your arms naturally by your sides, with your hands easy and unstrained.
Instead of forcing yourself into perfect alignment, notice whether your weight feels even across both feet. Breathe gently, without holding or controlling each breath. If you’d like extra reassurance, stand near a wall or keep a chair within reach.
Stay for a few breaths and observe small changes: perhaps your shoulders soften, your stance feels steadier, or you notice one foot carrying more weight. These details are not mistakes to fix; they’re helpful information about your body today. With time, this simple pose can help you feel more grounded and attentive as you explore the rest of your practice.
2. Cat-Cow Pose: Mobilize the Spine With the Breath
Cat-Cow is a gentle, rhythmic way to warm your spine and connect movement with breath. It also offers a moment to notice how your back and shoulders feel before moving into other yoga exercises.
Begin on your hands and knees, with your hands under your shoulders and knees under your hips. Spread your fingers comfortably, and let your head follow the line of your spine. If kneeling feels uncomfortable, you can practice a seated version in a chair.
As you inhale, gently open your chest and let your belly soften toward the floor. Keep the movement small, and avoid forcing a deep backbend or lifting your chin too high. On your exhale, round your back and gently draw your belly in, letting your head lower comfortably.
Continue moving slowly with your breath, finding a pace that feels steady rather than hurried. Your spine doesn’t need to make a large range of movement; comfort and control matter more than depth. If your neck feels tense, keep your gaze down and move only as far as feels easy.
A few calm rounds can help you feel more at ease in your body. Notice whether your breath or posture shifts as you move, and make adjustments with kindness. This simple practice can build awareness while gently preparing you for the poses ahead.
3. Downward-Facing Dog: Build Strength and Lengthen the Body
Downward-Facing Dog is a whole-body pose that can strengthen your arms and legs while creating a sense of length through your back. Like other yoga exercises, it can be adapted to suit your body today. You do not need to press your heels to the floor to practice it well.
Begin on your hands and knees, with your hands grounded beneath your shoulders. Tuck your toes, then lift your hips up and back, making an inverted V shape. Keep your hands firmly on the mat, and bend your knees as much as you need to give your spine room to lengthen comfortably.
Let your head relax between your arms, and keep a soft bend in your elbows. Your heels may stay lifted; focus instead on feeling steady through your hands and feet. If your shoulders or back feel strained, lower to hands and knees or rest for a few breaths.
For a gentler variation, take a shorter stance by bringing your feet closer to your hands. You can also place your hands on a wall or sturdy chair and step back, keeping your spine long. Even a brief hold can offer a chance to notice your breath and how your body feels. Adjust the pose or come out whenever it stops feeling supportive.
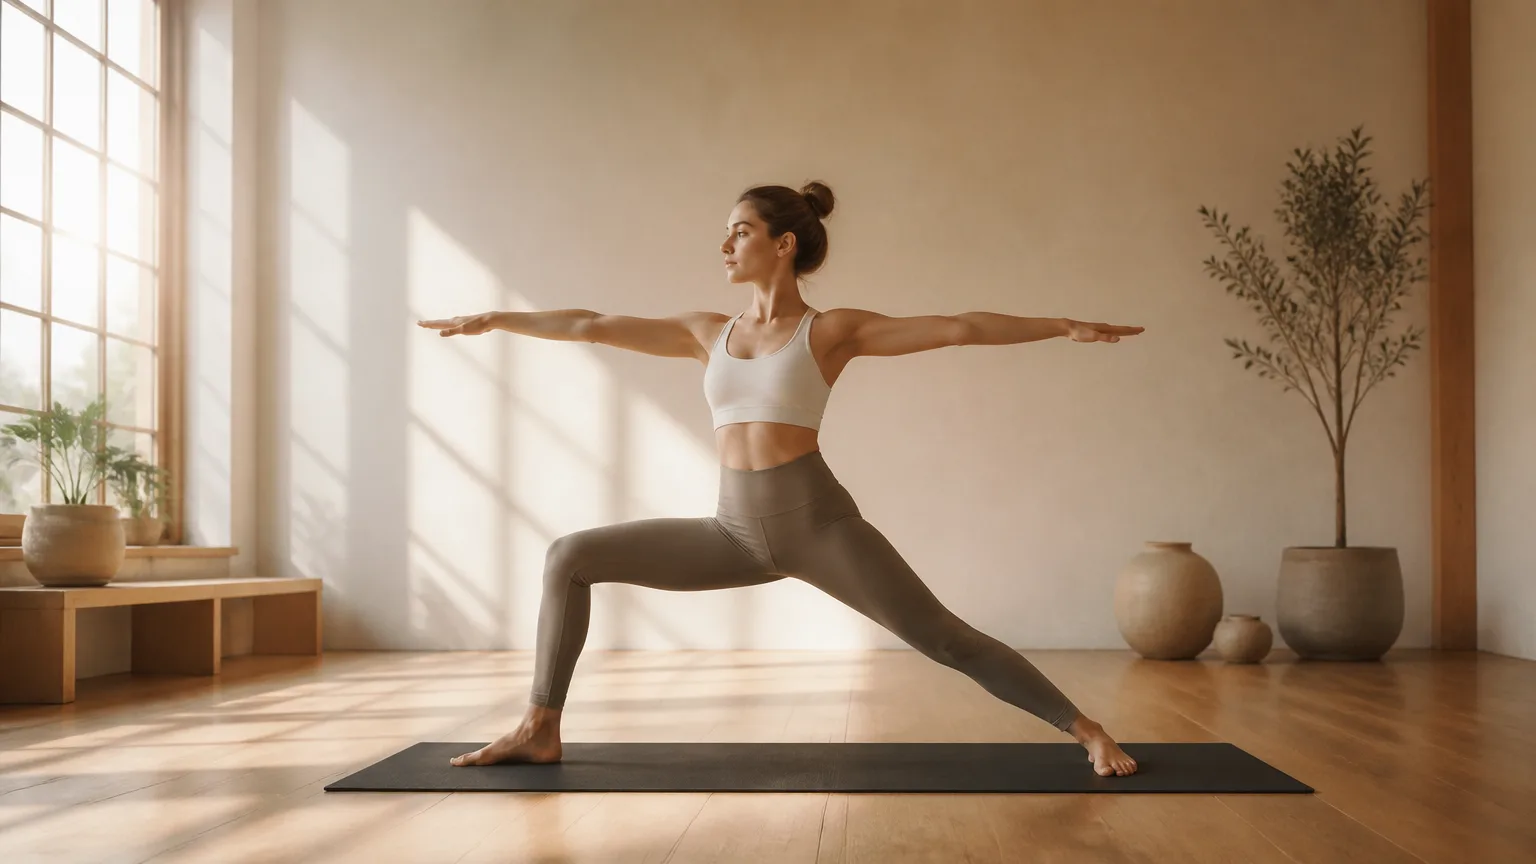
4. Warrior II (Virabhadrasana II): Strengthen the Legs and Focus
Warrior II builds strength in the thighs and hips while inviting you to feel steady and grounded. Like other standing yoga exercises, it can also help you notice how your attention and breath respond to physical effort.
Begin in a comfortable wide stance, with your feet facing forward. Turn one foot outward and bend that knee only as far as feels manageable. Keep the knee tracking in the same direction as your toes, rather than letting it fall inward.
Extend your arms out to the sides, keeping them around shoulder height and your shoulders relaxed. If your balance feels uncertain or your joints feel strained, shorten your stance or bend the knee less. The pose should feel steady, not strenuous.
Choose a spot in front of you for a soft, steady gaze. Breathe calmly as you hold the position, noticing the support of your feet and the strength in your legs. If your breath becomes strained, ease out of the bend or rest.
When you’re ready, straighten the front leg and turn your feet to face forward before switching sides. Move at your own pace, making small adjustments so the pose feels supportive on both sides.
5. Chair Pose (Utkatasana): Practice Steady, Functional Strength
After exploring a standing pose, Chair Pose offers another way to build strength while staying grounded. It engages your legs and core through a controlled movement that can be adjusted to suit your body and experience.
Stand with your feet about hip-width apart, or bring them closer if that feels steadier. Bend your knees and send your hips back as though you’re approaching a chair. Keep your torso upright, your weight grounded through your feet, and your gaze comfortably forward.
You can rest your hands at your hips to focus on balance and posture. For extra support, place a real chair behind you and lower toward its seat; there’s no need to sit down. You can also make the pose more accessible by bending your knees only slightly.
Stay for a brief, comfortable hold, breathing smoothly as you notice your legs working. If your breath feels strained or your knees feel uncomfortable, ease out of the bend or stand tall. A deep squat isn’t the goal; steady movement and a supportive breath matter more.
Chair Pose is one of the yoga exercises that can help you practice functional strength for everyday movements, such as standing up from a seat. Adjust the stance or depth whenever needed, and let each breath guide your pace.
6. Tree Pose (Vrksasana): Develop Balance One Breath at a Time
After exploring strength and steady movement, bring your attention to balance with Tree Pose. Stand near a wall or sturdy chair, with your feet about hip-width apart. Soften your knees rather than locking them, and let your gaze rest on a still point ahead.
Shift your weight into one foot, keeping that standing leg comfortably steady. Place the toes of your other foot on the floor like a kickstand, or rest its sole against your inner calf. Avoid pressing your foot directly into your knee. Keep a hand on the wall or chair if it helps you feel secure; using support is a sensible part of learning.
When you feel ready, bring your palms together at your chest. Take a few easy breaths, noticing how your body responds. A small wobble is normal information, not a sign of failure. Let it remind you to adjust your gaze, foot placement, or support.
Release the raised foot gently, then practice on the other side. You may find one side feels steadier, and that’s useful to notice. Like other yoga exercises, Tree Pose can develop with time and patience. Choose a version that feels manageable today, and let each breath help you find your own balance.
7. Low Lunge (Anjaneyasana): Open the Front of the Hips
After exploring balance in Tree Pose, Low Lunge offers a grounded way to feel the front of your hips and engage your legs. Begin kneeling, then step one foot forward, placing it comfortably between your hands. Fold a blanket or towel beneath your back knee if extra padding feels good.
Keep your hands on blocks, your front thigh, or a sturdy chair for support. Check that your front knee is comfortably aligned over your ankle. From here, gently shift your hips forward only until you notice a mild stretch at the front of the back hip.
There’s no need to sink deeply or push your hips forward. Let your torso stay upright, soften your shoulders, and breathe steadily. If the sensation becomes sharp or uncomfortable, ease back or come out of the pose.
Stay for a few calm breaths, then press through your front foot to return to kneeling and switch sides. Notice whether each side feels different, and adjust your range with care. This gentle version is enough for a beginner sequence; a deeper stretch isn’t required.
If you’d like to explore more hip-opening options later, you can read these pigeon pose variations and alignment tips. A carefully modified pigeon pose may suit some practitioners, but it’s not necessary here. Let support, comfort, and steady breathing guide your yoga exercises.
8. Bridge Pose (Setu Bandha Sarvangasana): Strengthen the Back Body
Bridge Pose is a beginner-friendly floor exercise that gently works the glutes and the back of your body. It also opens the chest, offering a simple way to explore strength and mobility without standing.
Lie on your back with your knees bent and feet planted comfortably, about hip-width apart. Let your arms rest beside you, with your palms facing down. Keep your neck relaxed and your gaze toward the ceiling.
As you breathe out, press gently through your feet and lift your hips a small amount. Raise them only as high as you can without strain; a low, controlled lift is enough. Keep your knees pointing forward rather than letting them drift outward or inward.
Pause for a few steady breaths, noticing the work in your glutes and the space across your chest. Your head and neck should stay relaxed, and your arms should rest rather than pushing through your head. Lower your hips slowly when you’re ready.
If the position feels uncomfortable, try a folded blanket under your shoulders or keep the lift especially low. You can also stay on the floor and simply notice your feet pressing down. Like other yoga exercises, Bridge Pose can meet you where you are—small, comfortable movements are a meaningful place to begin.
9. Plank Pose: Build Core and Upper-Body Stability
Plank is a versatile strength pose that works your core, shoulders, and arms. You don’t need to hold it for a long time to benefit; the right version is one that lets you stay steady and breathe comfortably.
Begin with a hands-and-knees plank. Place your hands beneath your shoulders, then step one foot back at a time, keeping your knees on the floor. For an even gentler option, place your hands on a wall and step back until your body forms a slight angle. Both variations help you build strength while finding comfortable shoulder support.
When you’re ready to try a full plank, step your feet back and press through your hands. Aim for a long line from your head through your heels, with your hips neither sagging nor lifted high. Keep your shoulders comfortable, and soften your gaze toward the floor.
Take a few calm breaths, then lower your knees or step forward to rest. Try another short hold only if your breathing remains smooth and your body feels supported. Resting between attempts is part of the practice—not a sign you need to push harder. In these yoga exercises, steady form and mindful breathing matter more than how long you hold a pose.
10. Child’s Pose (Balasana): Rest, Breathe, and Release Tension
After a stronger pose, Child’s Pose offers a chance to pause and notice how you feel. Kneel on the floor, then slowly lower your hips toward your heels. Fold your torso over your thighs, or place a cushion beneath your chest and forehead for support. Let your arms rest comfortably and keep your breath easy.
You can widen your knees to make more room for your torso, or place a folded blanket beneath them for extra cushioning. If kneeling feels uncomfortable, sit in a chair and lean forward onto a table or cushion. Choose the option that lets your body settle without forcing your hips or knees.
As you breathe, allow your shoulders to soften and your back to gently lengthen. There’s no need to stretch deeply; even a comfortable resting position can help you release tension and reconnect with your breath. Rest is a valuable part of practice, not time taken away from progress.
Some practitioners explore deeper hip-opening options, such as Frog Pose. If you’re curious, review Frog Pose modifications and safety guidance. For this beginner sequence, Child’s Pose is enough: let comfort guide your yoga exercises, and stay only as long as your breath feels steady.
How to Combine the 10 Poses Into a Short Beginner Practice
Once you’re familiar with the individual poses, you can connect them into a simple flow. Begin in Mountain Pose, then move through a few rounds of Cat-Cow and into Downward-Facing Dog. From there, practice your standing strength and balance poses, such as Warrior II, Chair, and Tree, before moving to Low Lunge.
Continue with Bridge and Plank, then settle into Child’s Pose to rest. Repeat poses on both sides where appropriate, and pause between sections whenever you need. If you’re new to group practice, reading what to expect in a yoga class may also help you feel more prepared.
Keep the practice short and comfortable: about 10 to 20 minutes is plenty to begin. Take a few steady breaths in each pose, or hold briefly if that feels supportive. Let your breath stay smooth, and ease out or rest if you feel strained.
On busy or low-energy days, choose just a few poses and shorten the sequence. Practicing consistently can help you build familiarity, but flexibility matters too. Let comfort and breath—not perfect alignment—guide your yoga exercises, and trust that small, steady steps count.
Frequently Asked Questions
Do I need to be flexible to start yoga?
No. Flexibility is not an entry requirement; it develops gradually with practice. These yoga exercises are a chance to explore how your body feels today, not to match someone else’s range of motion. A bent knee or a smaller stretch can be a useful place to begin.
How often should I practice?
Choose a manageable routine you can repeat consistently, such as a short sequence a few times a week. Even a brief practice can help you become more familiar with the poses. Rest when you need it, and adjust your schedule to your energy, comfort, and other needs.
How can I modify a pose?
Use props or nearby support to make a pose feel steadier. For example, place your hands on a wall or sturdy chair, bend your knees, or reduce how far you move. You can also pause or skip a pose. Modifications are part of a thoughtful practice, not a sign you are doing it wrong.
Is it normal for a pose to feel difficult?
A mild effort or gentle stretch can be expected, especially when you’re learning a new movement. Keep breathing smoothly, and ease out if you feel strained. Stop if you feel sharp or worsening pain, numbness, dizziness, or another concerning symptom. If discomfort persists or you’re unsure what’s safe, seek advice from a qualified health professional.
Build a Practice That Meets You Where You Are
These beginner yoga exercises can help you build strength, practice balance, and explore flexibility—one mindful movement at a time. Start with a few accessible poses, such as Cat-Cow, Tree Pose with wall support, or Child’s Pose. Choose options that feel comfortable, and rest whenever you need.
Progress doesn’t have to mean moving into a deeper pose. It might look like steadier breathing, greater ease, or more confidence in a familiar movement. Return to the exercises that feel supportive, and adjust them as your energy, comfort, or needs change.
There’s no need to compare your practice with anyone else’s. Even a short, attentive session can be a meaningful step toward balance and holistic well-being.