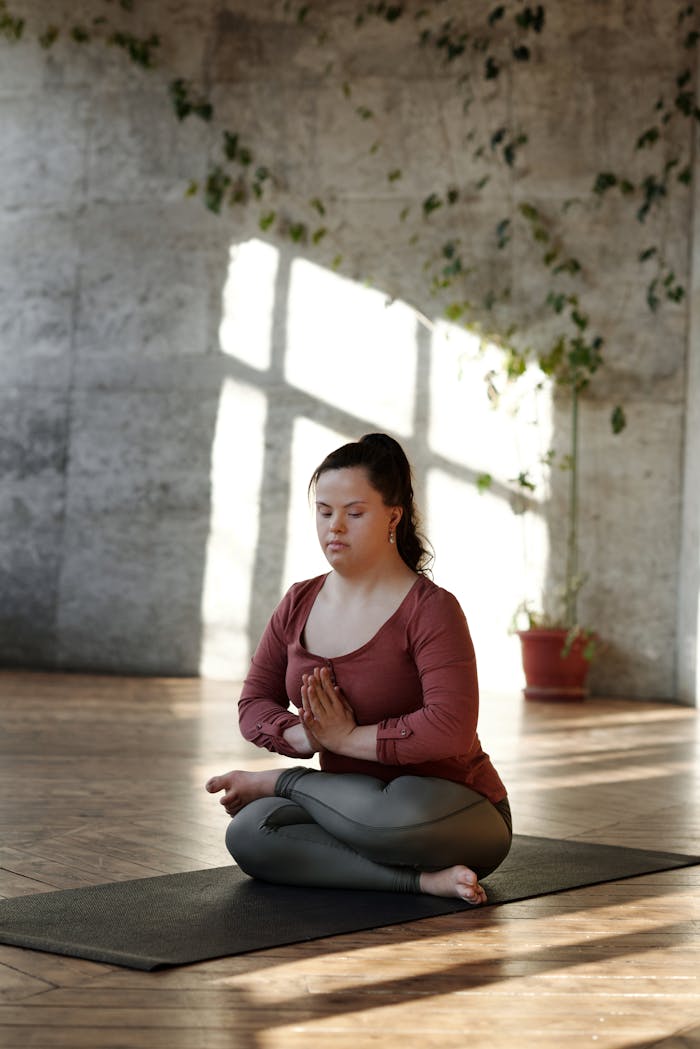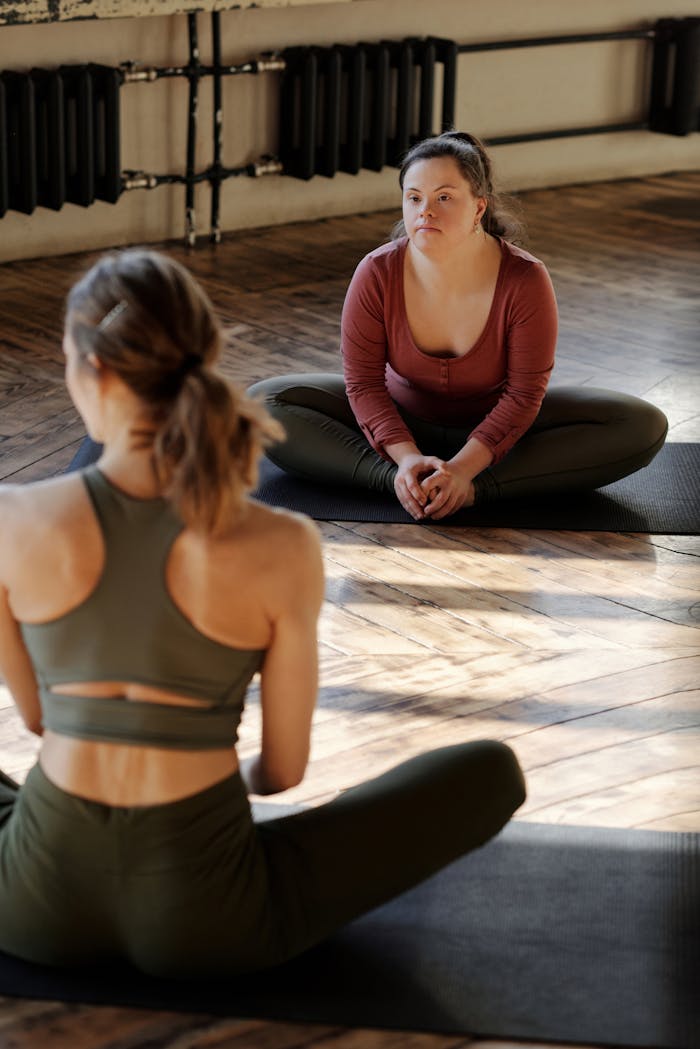
Building strength, flexibility, and balance doesn’t require advanced moves or perfect form. These beginner-friendly yoga poses invite you to move mindfully, explore what feels comfortable, and build body awareness one breath at a time.
Practiced regularly, yoga can support strength and mobility while helping you feel steadier in everyday movement. You can explore each pose on its own or link them into a simple sequence. Either way, steady, comfortable practice matters more than stretching deeper or getting every detail just right.
For each pose, you’ll find practical alignment cues, its main beginner-friendly benefit, and an accessible modification. Use these ideas as a starting point, adjusting as needed to meet your body where it is today. For more yoga and mindfulness resources to support your journey, visit Joyous Yoga.
Before You Begin: Set Up a Comfortable Beginner Practice
A little preparation can help these yoga poses feel more comfortable and approachable. Wear clothes that let you move freely, and practice on a stable, nonslip surface. A yoga mat can provide grip and cushioning; blocks or a sturdy chair can offer extra support when reaching the floor or balancing.
A yoga ball isn’t needed for the poses below, though it can support some balance and mobility exercises. If you’re curious about using one at home, explore this guide to choosing a yoga ball. For these poses, simple props are often enough.
Move at a pace that lets you breathe continuously. Aim for a comfortable range rather than forcing a stretch or trying to match someone else’s shape. Pause or modify a pose if you feel unsteady, and stop if you experience sharp pain, dizziness, or unusual symptoms. If you have an injury, health condition, or other individualized concern, ask a qualified clinician for guidance.
You can practice at home, or try a beginner-friendly class for encouragement and feedback as you learn. A welcoming community can make it easier to ask questions and find variations that suit your body. Kinship Yoga is one resource for exploring classes and community. As you move through the poses, let comfort and steady breathing guide your effort.
1. Mountain Pose (Tadasana): Build Foundational Alignment
Mountain Pose may look like simply standing, but it’s an active way to practice alignment and feel steady in your body. Stand with your feet hip-width apart or together, whichever feels more comfortable. Press gently through the heels and the bases of your big and little toes, sharing your weight evenly across both feet.
Engage your legs lightly without locking your knees. Let your pelvis rest in a neutral position, and keep your ribs comfortably stacked over your hips. Relax your shoulders away from your ears, and avoid pushing your chest upward. Imagine the crown of your head lifting as you breathe slowly and steadily.
This simple posture builds awareness of how you stand and how your breath responds to small adjustments. That attention supports both physical steadiness and the focus you’ll bring to other yoga poses. If you’d like an external reference, stand with your back near a wall without forcing your body to touch it. Notice your alignment, then soften any effort that feels strained.
2. Chair Pose (Utkatasana): Strengthen the Legs and Core
Chair Pose builds strength in your thighs and trunk while inviting you to find balance in a steady stance. Stand with your feet about hip-width apart, or bring them closer if that feels comfortable. Let your weight settle evenly through both feet.
Bend your knees and send your hips back as though reaching toward a chair. Keep your torso long, with your chest easy and your gaze forward. Let your knees track in line with your toes rather than drifting inward. This controlled hip hinge helps your legs and core engage without asking your back to round.
Take a gentle inhale as you lengthen your spine, then exhale as you settle into the bend. There’s no need to hold the pose for a long time; a few steady breaths are a useful place to begin. For a lighter version, bend your knees less deeply, or place a chair behind you and lower toward it for support. You can also rest your hands on your hips or a chair to help you feel stable. Like other beginner-friendly yoga poses, Chair Pose can be adjusted to meet your body where it is today.
3. Warrior I (Virabhadrasana I): Develop Strength and Hip Mobility
Warrior I is a grounded lunge that strengthens your legs while gently challenging hip mobility. Its upright posture and reaching arms also invite you to find space through your upper body. As with other yoga poses, choose a stance that feels steady rather than aiming for a wide or deep position.
Step one foot forward and place your feet about hip-width apart from side to side, like standing on train tracks. Adjust the distance between them until you feel balanced. Your back heel can stay lifted or turn outward as needed for a comfortable stance; there’s no need to force it down.
Bend your front knee, keeping it aligned over your foot and pointing in the same direction as your toes. Let your torso face forward only as far as your hips comfortably allow. If raising your arms creates tension in your shoulders or back, keep your hands at your hips instead. Breathe steadily, and ease out of the pose if you feel sharp pain. Then switch sides, noticing whether one stance feels different from the other.
4. Warrior II (Virabhadrasana II): Practice Grounded Strength
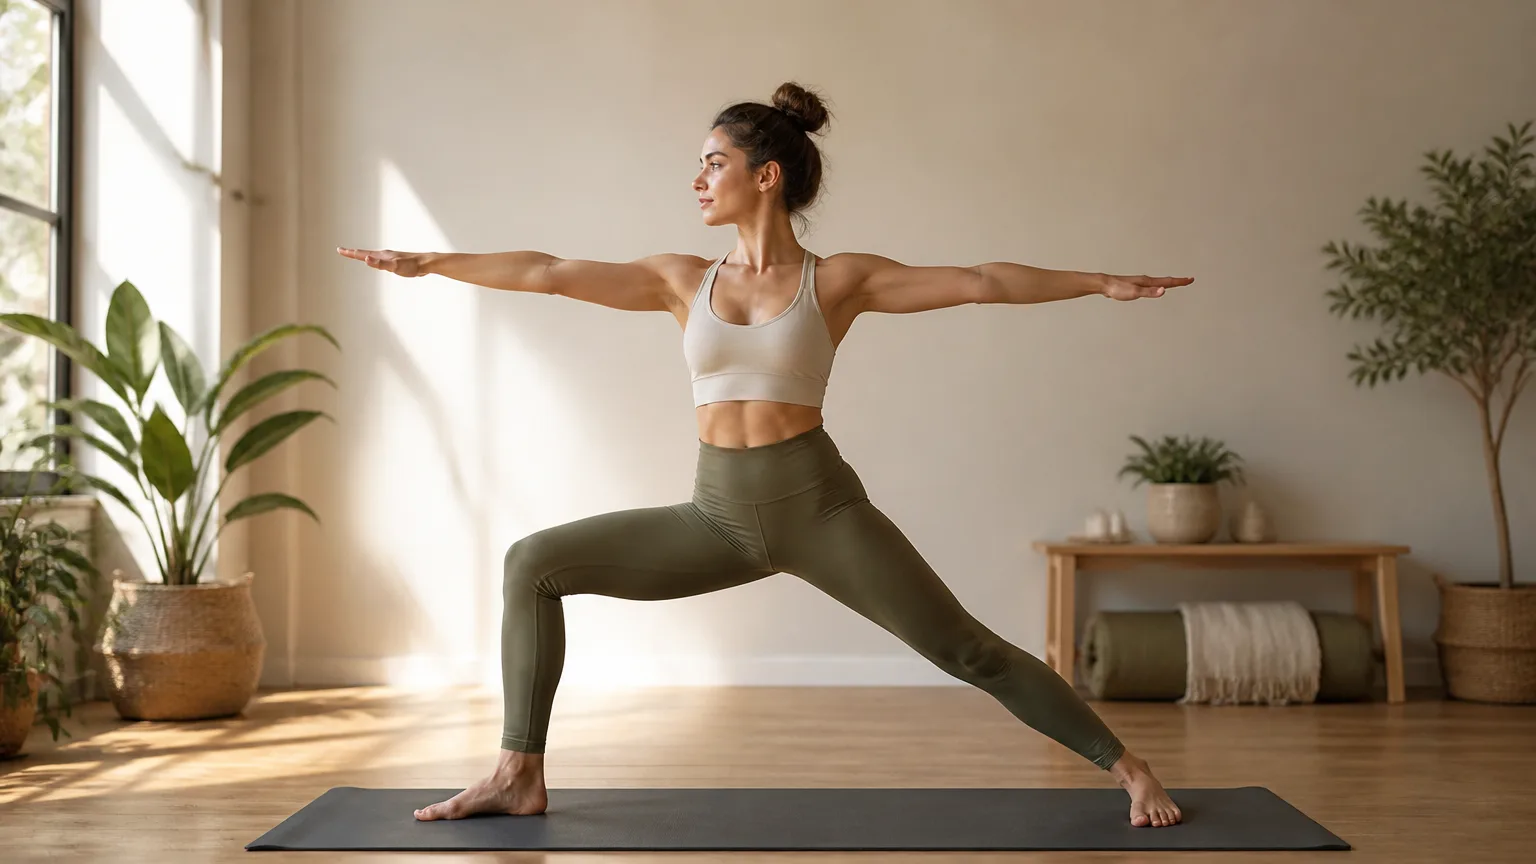
Warrior II offers a steady way to build lower-body endurance while practicing balance and focus. From standing, step your feet wide apart and turn your front foot toward the short edge of your mat. Turn your back foot slightly inward, then bend your front knee gently.
Unlike Warrior I, where the hips and torso generally face forward, Warrior II turns your torso toward the long edge of the mat. Keep your front knee tracking over the ankle area, and press through your back foot to keep that leg active. Let the knee bend only as deeply as feels comfortable; a smaller bend still offers useful practice.
Rest your hands on your hips, or extend your arms out to the sides if your shoulders can stay relaxed. Let your gaze reach softly over your front hand, without tightening your neck. If the wide stance feels unsteady, bring your feet closer together to build confidence and balance. As with other yoga poses, steady breathing can help you notice when to adjust. Then straighten your front leg and switch sides, observing how each stance feels.
5. Triangle Pose (Trikonasana): Lengthen the Sides of the Body)
From your wide stance, turn your front toes toward the short edge of the mat and angle your back toes slightly inward. Extend your arms out to the sides, then hinge from your hips toward your front leg, keeping both sides of your torso long. Triangle Pose offers a gentle way to explore side-body length and controlled mobility.
Rest your lower hand on a block, your shin, or your thigh, but avoid placing it directly on your knee joint. Reach your top arm upward only if that feels comfortable, and let your chest open without forcing a twist. Keep space between your shoulders rather than collapsing into the lower one.
If the pose feels too intense or unsteady, shorten your stance or soften your front knee. These adjustments can help you stay balanced while breathing steadily. Among beginner-friendly yoga poses, Triangle Pose is a reminder that you don’t need to reach the floor to benefit. Move with care, then switch sides and notice what feels different.
6. Tree Pose (Vrksasana): Improve Balance with Patience
Tree Pose builds balance and focus one steady breath at a time. Start standing tall, with a wall or chair nearby in case you want support. Choose a spot at eye level to gaze at, and keep your standing knee soft rather than locked.
Shift your weight into one foot, then place the other foot at your ankle or inner calf. Avoid pressing it against the side of your knee. If lifting the foot feels unsteady, keep its toes on the floor beside your standing foot.
Rest your hands at your hips or bring your palms together at your heart. Stay here for several comfortable breaths before trying an overhead reach. Wobbling is normal; it’s part of learning how your body responds. If your balance shifts, hold the wall or chair, or step out and reset. These small adjustments help make Tree Pose an approachable way to build steadiness among beginner-friendly yoga poses. Switch sides and notice whether one side feels different.
7. Bridge Pose (Setu Bandha Sarvangasana): Strengthen the Back Body
Bridge Pose gently strengthens the glutes and legs while opening the front of the hips. It can also help you notice how steady breathing supports a controlled movement. Lie on your back with your knees bent and feet flat, hip-width apart. Rest your arms beside you, palms down, and keep your neck relaxed.
Press evenly through your feet and engage your legs as you slowly lift your pelvis. Raise your hips only as high as you can while breathing easily and keeping your neck neutral. Keep your knees pointing forward rather than squeezing them inward. Once lifted, keep your head still; turn only after lowering your hips.
Stay for a few comfortable breaths, then lower slowly. If lifting feels uncomfortable, keep your hips grounded and focus on steady breathing. For support, you can place a block beneath your pelvis at a height that feels comfortable, letting it bear the weight rather than forcing the lift. Like other beginner-friendly yoga poses, Bridge Pose can be adjusted to meet your body where it is today.
8. Plank Pose: Build Core and Upper-Body Strength
Plank is a whole-body pose that strengthens your core, arms, and shoulders while inviting steady focus. The goal isn’t to hold the most demanding version, but to find a stable shape you can breathe in.
Begin on your hands and knees, with your hands beneath your shoulders. Step your feet back, keeping your legs active and your abdomen gently engaged. Press through your hands without collapsing into your shoulders, and keep your head aligned with your spine.
Check that your wrists feel comfortable and spread your fingers to distribute weight through your hands. If your wrists or core need less demand, lower your knees to the floor or practice with your hands against a wall. In either variation, aim for a long line from your head through your hips, adjusting your stance as needed.
Hold for a few steady breaths, then rest. End the pose before your lower back begins to sag, or your breathing becomes strained. Like other yoga poses, Plank can meet you where you are today—and small, consistent efforts can build strength over time.
9. Low Lunge (Anjaneyasana): Open the Front of the Hips)
From Plank, bring one foot forward and lower your back knee onto the mat. Add a folded blanket or other padding beneath the knee if that feels more comfortable. Keep your front knee comfortably aligned over your foot, and choose a stance length that feels steady.
Rest your hands on blocks, a chair, or your front thigh for balance. Let your torso stay upright only if that position feels easy; you can lean forward slightly and keep your hands supported. Rather than pressing your hips toward the floor, move gently into a mild stretch at the front of your back hip.
A smaller lunge is still useful. Breathe steadily and notice whether your legs can support you without strain. If you feel pressure or pain in your back knee, ease out of the pose and adjust your padding or stance. Hold for a few breaths, then step back carefully and switch sides. Like other yoga poses, Low Lunge can be adapted to meet your body where it is today.
10. Downward-Facing Dog (Adho Mukha Svanasana): Lengthen and Strengthen
Downward-Facing Dog can look like a perfect inverted V, but your body doesn’t need to match that shape. The goal is a comfortable, active pose that lengthens your spine and builds strength—not forcing your heels to the floor.
Begin on your hands and knees, with your wrists beneath your shoulders and knees beneath your hips. Spread your fingers, tuck your toes, and press the floor away as you lift your hips. Keep your knees bent as needed to help lengthen your back.
Let your head rest between your arms, with your neck relaxed. Distribute your weight steadily through your hands, especially across your fingertips and the base of each finger. Breathe slowly, and notice whether your shoulders feel supported rather than strained.
If your wrists or shoulders feel uncomfortable, reduce the pose by lowering your knees or return to hands and knees. You can also take a brief rest before trying again. Like other yoga poses, Downward-Facing Dog can be adapted to meet your body where it is today. Focus on steady breathing and a long spine, and let your heels soften toward the floor only if they do so comfortably.
11. Cobra Pose (Bhujangasana): Gently Extend the Spine
After exploring poses that strengthen your arms and legs, Cobra offers a chance to gently extend your spine. This beginner-friendly backbend can build awareness of your back muscles and counter a rounded posture. The lift can be small; you don’t need to push into a deep arch to feel its benefits.
Lie on your belly with your legs comfortably extended and the tops of your feet resting on the floor. Place your hands beneath or slightly ahead of your shoulders. Press lightly through your palms, then use your back muscles to lift your chest just a little. Keep your elbows softly bent, shoulders away from your ears, and pelvis grounded.
Breathe steadily and notice how the movement feels across your chest and back. If you feel pinching or pressure in your lower back, lower your chest or come out of the pose. You might try a very low lift, barely raising your chest, or rest with your forehead on your hands instead. Among yoga poses for beginners, Cobra is a reminder that a gentle, controlled movement can be more supportive than reaching for a higher lift.
12. Child’s Pose (Balasana): Rest, Breathe, and Reset
After the gentle backbend of Cobra, Child’s Pose offers a quiet place to pause. Kneel on the floor and bring your big toes together, then settle your hips back as far as feels comfortable. Choose knees together or apart; a wider stance may create more room for your torso.
Your hips do not have to reach your heels. If they stay lifted, support them with a folded blanket or choose another comfortable position. Fold forward only as far as your body allows, resting your forehead on the floor, a blanket, or a bolster. You can also place a folded blanket or bolster beneath your torso for extra support.
Let your arms rest forward or alongside your body, and allow your shoulders to soften. Breathe slowly, noticing where your body meets the support beneath you. If the pose creates strain in your knees, hips, or back, adjust your position or come out of it.
Rest is a valid part of mindful practice, not something you need to endure. Take Child’s Pose between more active yoga poses, or whenever you need a moment to reset.
How to Put the 12 Poses Together—and Choose a Beginner Class
You don’t need to practice all 12 yoga poses in one session. Begin with a few easy breaths and gentle movement, then start in Mountain Pose. From there, move through standing poses such as Chair, Warrior, Triangle, and Tree, choosing just a few that feel manageable.
Next, shift to the floor for poses such as Bridge, Plank, Low Lunge, Downward-Facing Dog, or Cobra. Finish with Child’s Pose or another comfortable resting position. You can skip poses, repeat a favorite, or pause between movements; let your comfort and breath guide the order.
Keep holds short and unforced, and rest whenever you need to. There’s no required sequence or daily routine to follow. Even a few mindful movements can help you learn how each pose feels and where you might want more support.
If you’d like guidance, look for a slow, foundational class where the instructor explains alignment and offers variations. A welcoming class can also give you space to ask questions and move at your own pace. Down Under Yoga is one resource for exploring class options and what to expect.
Room conditions can shape your first experience, too. A warm or heated room may feel more intense, especially if you’re new to movement, so bring water and take breaks as needed. Heated classes aren’t required to learn these poses; choose a setting where you can breathe comfortably and feel supported.
Frequently Asked Questions
How often should a beginner practice yoga?
There’s no single schedule that works for everyone. Start with a frequency and session length that fit your time, energy, and health; even a short, gentle practice can help you build familiarity. You can increase gradually if it feels manageable, and take rest days whenever you need them.
Can yoga build strength?
Yes. Many yoga poses ask you to support, move, or balance your body, which can help build strength over time. Progress varies from person to person, so focus on steady breathing and consistent, comfortable practice rather than pushing for quick results.
What should I do if a pose feels uncomfortable?
First, notice the difference between ordinary effort or mild stretching and sharp pain. If you feel pain, strain, or pressure that doesn’t ease when you adjust, come out of the pose. Modifications, props, and skipping a pose are all appropriate ways to care for yourself. For persistent symptoms or individual medical concerns, seek guidance from a qualified health professional or yoga instructor.
Do I need to be flexible to start yoga?
Not at all. Flexibility is something you may develop with practice, but it isn’t a requirement or a measure of success. Bend your knees, use a chair or blocks, or choose a smaller range of movement so your body feels supported. Your practice can meet you where you are today.
Build a Steady Practice One Pose at a Time
These 12 yoga poses offer approachable ways to explore strength, flexibility, balance, and mindful attention. You don’t need to master them all at once. Begin with a few poses that feel comfortable, and allow your practice to grow gradually.
Let your breath and body guide you. Adjusting a pose is a sign of responsive practice, not failure; a smaller movement or extra support may help you feel steadier. Choose a pace that supports your well-being, and pause or rest whenever you need.
Consistency can develop without pressure. Even a few mindful minutes can help you notice how your body responds and what feels supportive today. Try a short, comfortable sequence, then return to it when it suits you.