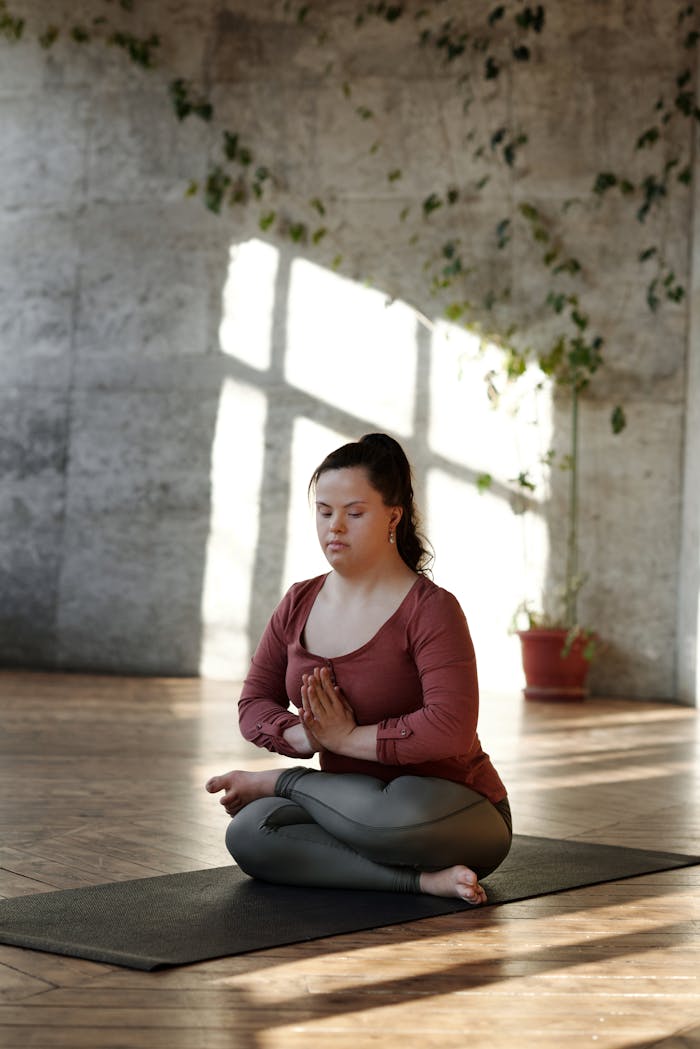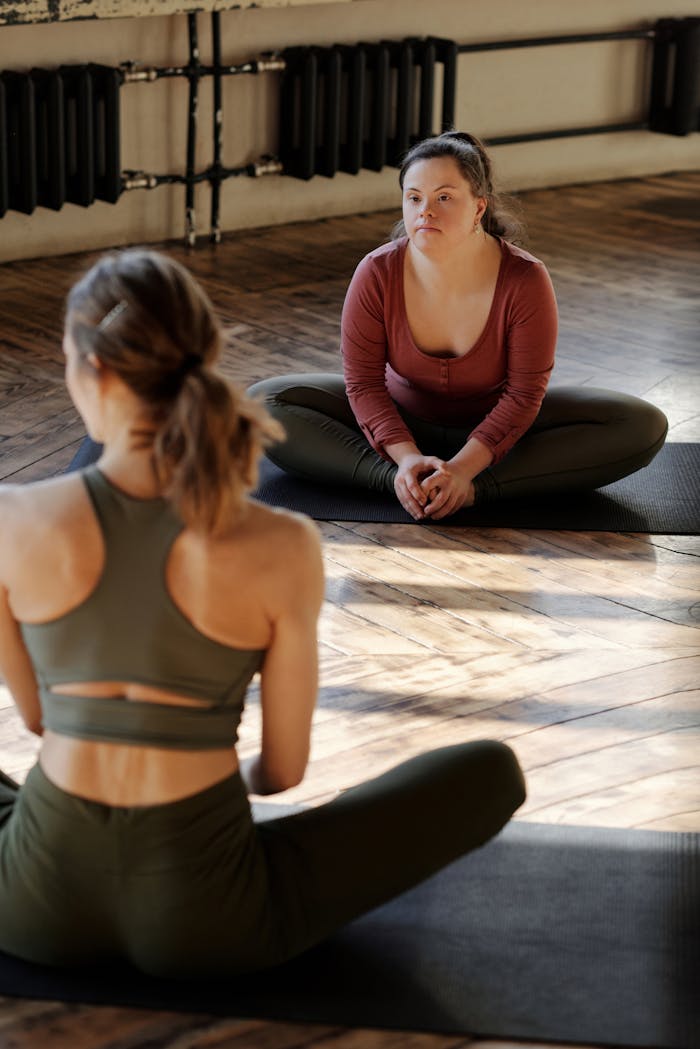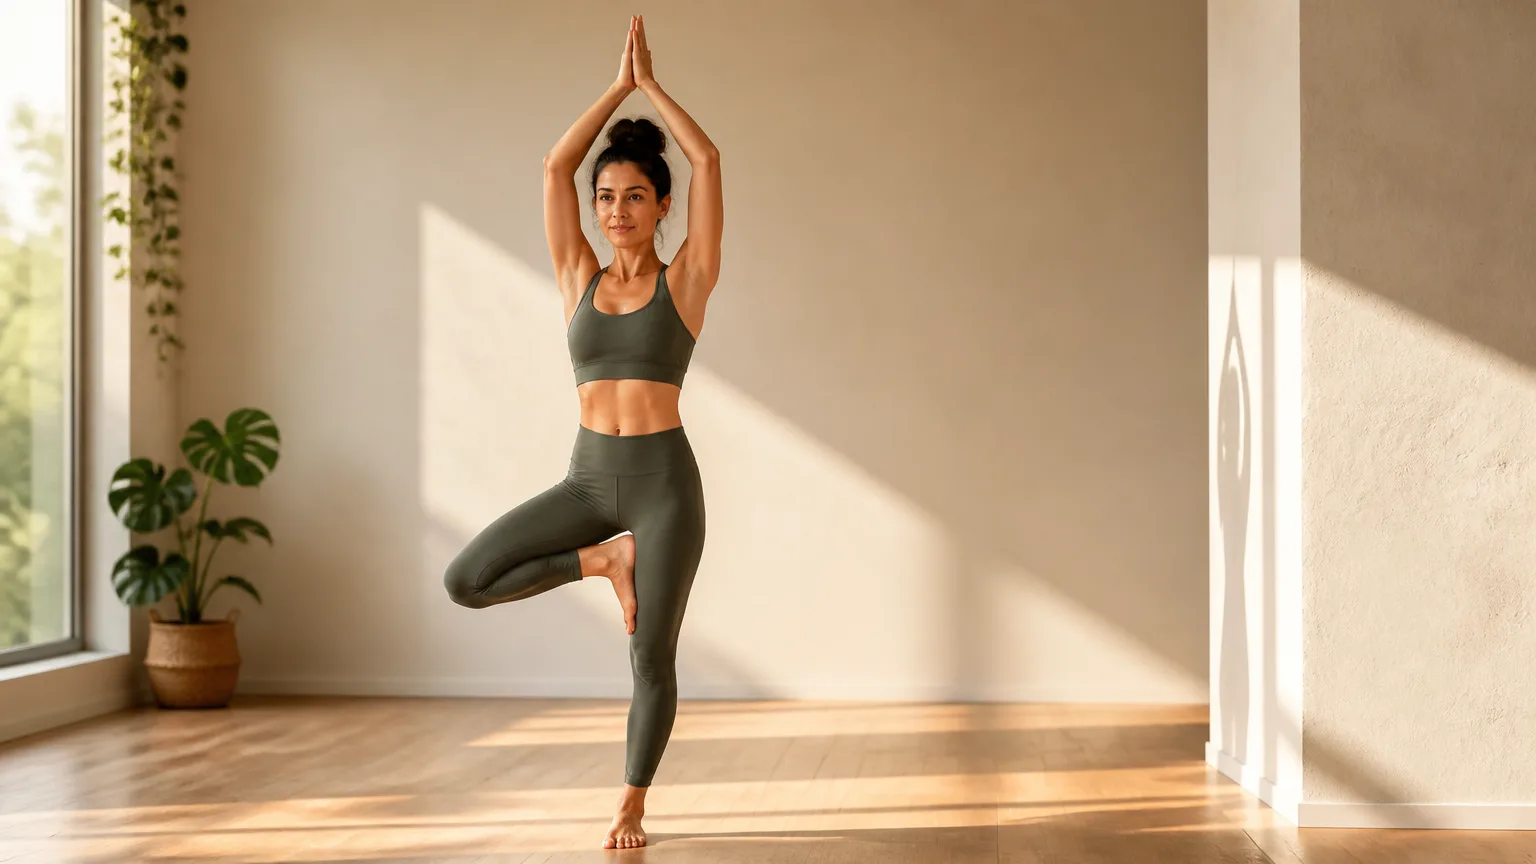
Tree pose yoga, or Vrksasana, is a standing balance that invites you to feel rooted while reaching upward. It can be adapted for different bodies and experience levels, so you don’t need perfect flexibility or a motionless stance to begin. At Joyous Yoga, we see balance as a skill built through attention and repetition—not a test you pass or fail.
Wobbling is normal, and each moment of returning your focus is part of the practice. Try standing near a wall for support, or keep the toes of your lifted foot resting on the floor. Both options count, and they can help you explore the pose with more confidence.
In this guide, you’ll learn how to set up Tree Pose, find comfortable alignment, and use simple strategies to steady your balance. We’ll also explore modifications and ways to practice safely, so you can meet your body where it is today. With patience, this grounding pose can become a gentle way to build strength, awareness, and trust in your own path.
What Tree Pose Is—and What It Can Teach You
Tree Pose is a standing balance posture that invites you to feel grounded while reaching upward. You stand on one foot, bend the other leg, and place the lifted foot against the standing leg. The shape can be simple or more challenging, depending on where you place your foot and how you position your arms.
Your lifted foot may rest at your ankle, calf, or inner thigh. Choose a placement that feels steady, and avoid pressing the foot directly into the side of your standing knee. You can also keep your toes on the floor beside your standing foot for extra support.
The standing foot does more than hold you up. Spread your weight across the heel and the base of your big and little toes, then notice how small shifts affect your steadiness. Let the standing leg feel active without locking the knee. Keep your hips facing forward as much as is comfortable, and allow your torso to rise naturally rather than leaning toward one side.
Tree Pose offers a chance to build balance, leg strength, and body awareness through practice. These benefits come from meeting the pose with patience, not from holding it perfectly still. A gently swaying tree is still a tree.
That movement is part of the practice. In tree pose yoga, your attention may move between your breath, your standing foot, and the space around you. When you wobble, notice what changed and make a small adjustment—perhaps softening your gaze, easing your shoulders, or shifting your weight. Each moment gives you a fresh opportunity to return to balance.
Set Up Safely Before You Lift a Foot
A steady start can make tree pose yoga feel more welcoming. Choose a firm, level surface where your feet won’t slide, and leave enough room to step out in any direction. Practicing barefoot can help you feel the floor; secure, nonslip footwear is another option if that feels more comfortable.
If balance feels uncertain, set up beside a wall or sturdy chair. Rest a hand lightly on the support rather than gripping it. This gives you a safety net while allowing you to notice how your body responds. Keep the support close enough to reach without leaning or twisting.
Before lifting a foot, stand with both feet grounded and your gaze resting on a steady point. Gently shift your weight from side to side, then settle over one foot. Spread the standing foot across the floor, keeping pressure through the heel and the base of the big and little toes. Let the standing knee stay soft rather than locked, and notice whether your ankle and hip feel comfortable.
Take a brief check-in before you move on. Notice any discomfort in your feet, ankles, knees, or hips. Mild muscular effort and ordinary wobbling can be part of learning balance, but sharp pain, numbness, or a strained feeling in a joint are signs to stop and reset.
When something feels tender or uncertain, make the pose smaller. You might keep the toes of your lifted foot on the floor, place its heel against your standing ankle, or use the wall for extra support. You don’t need to lift the foot high—or lift it at all—to practice steady attention.
If discomfort increases, step out gently and rest. Persistent pain, numbness, or difficulty balancing may call for individualized guidance from a qualified health professional or yoga teacher familiar with your needs. Returning to the pose with support, or choosing another movement, is a thoughtful way to care for yourself.
How to Do Tree Pose: Step-by-Step Instructions
Begin in Mountain Pose, standing tall with your feet about hip-width apart. Let your arms rest by your sides, soften your shoulders, and take a few steady breaths. Choose a point in front of you to rest your gaze; a calm, steady focus can make balancing feel more manageable.
Shift your weight gradually into your left foot. Spread your toes and feel the floor beneath your heel and the balls of your foot. Keep a small softness in your standing knee rather than locking it, and engage your leg gently to feel supported. If you wobble, pause and reset before continuing.
Bend your right knee and lift your heel, keeping your toes on the floor. Rest the ball of your right foot against your left ankle, with your knee pointing comfortably out to the side. This beginner-friendly version is a complete way to practice tree pose yoga; you don’t need to lift your foot higher to benefit.
If you feel steady and your standing knee remains comfortable, you may slide your right foot higher along your inner left leg. Place it on your calf or inner thigh, but not directly against the knee joint. Use your hand to guide the foot if needed, and stop at the height where your balance and comfort remain steady.
Let the lifted knee open only as far as your pelvis can stay comfortably forward-facing. Your hips may turn slightly, but avoid forcing the leg farther outward or twisting to make it look like the pose. Keep both sides of your waist long, and let the standing foot and leg support you without gripping.
Bring your hands to your chest in a prayer position, rest them on your hips, or raise your arms overhead if that feels stable. Choose a position that allows your shoulders to stay relaxed. Breathe evenly, noticing the movement of your breath without holding it or rushing to stay still. A small sway is natural; make gentle adjustments through your standing foot.
Stay for a few comfortable breaths, then prepare to come out with control. Lower your hands if they are raised, bring the lifted knee forward, and release your foot to the floor. Return to Mountain Pose and notice how you feel before practicing on the other side. Move slowly throughout, using the wall or a chair for support whenever you’d like.
Alignment Cues for a Steadier, More Comfortable Pose
Once you’ve found a version of Tree Pose that feels manageable, small alignment choices can help you feel more grounded. Think of these cues as gentle reminders, not rules you need to perfect. Your balance may shift from day to day, and that’s a natural part of practicing.
Begin with your standing foot. Spread your toes and let the ball of the foot, the base of the little toe, and the heel share your weight. Rather than gripping the floor, feel the foot make steady, relaxed contact. Keep your standing knee soft—not locked—so your leg can respond to small shifts.
Next, notice your pelvis and spine. Aim for a level, ungripped pelvis, with your torso stacked comfortably above it. You don’t need to hike one hip or arch your lower back to make room for the lifted leg. Let your spine grow long as your ribs settle over your pelvis.
Place the lifted foot against your inner calf or thigh, avoiding the knee joint. Press the foot gently into the leg, and let the leg press back into the foot. This balanced contact helps create stability without forcing either side. If the pressure feels uncomfortable, lower the foot or choose a position that feels more supportive.
Let your shoulders soften and your neck stay easy. Choose a steady point to gaze at, ideally something still at eye level. A relaxed gaze can help your attention settle without making you rigid. If you wobble, breathe and make one small adjustment rather than tightening your whole body.
Your arms can also change the balance challenge. Keep your hands at your hips or bring them together at your chest for a simpler option. When you feel steady, reach your arms overhead or open them wide; move slowly and notice how each position shifts your balance. The shape of the arms is optional—the goal is to stay attentive and comfortable.
Practicing with another person can offer encouragement, too. In couples yoga, partners can share a steadying presence while still honoring each person’s balance and pace. Whether you practice alone or with a partner, let support help you feel safe rather than pulling you out of your own awareness.
Balance Strategies: Breath, Gaze, and Small Adjustments
Once you’re comfortable entering and leaving Tree Pose, give your attention a few steady anchors. Choose a fixed point in front of you, such as a spot on the wall at eye level. Let your gaze rest there softly, without straining or staring.
Breathe at a natural, even pace. A slow exhale may help ease tension in your shoulders, jaw, and hands. Rather than holding your breath or bracing your whole body, notice where you can soften while staying alert.
Spread the toes of your standing foot and feel the floor beneath them. Your foot may press gently into the mat as your leg and lifted foot meet with light, steady contact. If you sway, try a small correction: shift your weight slightly, relax your shoulders, or bring your gaze back to its spot.
A little movement is normal in balancing poses. Your body is making small adjustments to stay upright, so you don’t need to fight every wobble. If you feel unsteady, step out with control and return to Mountain Pose. That is a useful response, not a failure.
Practice both sides, taking a brief rest between attempts. Your balance may feel different from one side to the other, and that difference is simply information about how you feel today. Notice comfort and steadiness rather than comparing sides or aiming for a particular hold time.
To build duration, begin with a few comfortable breaths. When that feels manageable, stay for one breath longer in a later practice. Keep your focus on relaxed breathing and ease; come down sooner if you’re holding tension or losing control.
You can also adjust your setup to make tree pose yoga more approachable. Stand near a wall or keep a chair within reach, using support whenever it helps you feel secure. Over time, these small, mindful choices can help you explore balance with patience and trust.
Modifications and Progressions for Different Needs
Tree pose can meet you where you are. Whatever variation you choose, keep the same comfortable foundation: root down through a steady standing foot, keep your standing knee unstrained, and leave the pose with control.
If you’re new to balancing, try a toe-down kickstand. Place the lifted foot beside the standing ankle, with its toes resting lightly on the floor. You can still bend the lifted knee outward while using the toes as a gentle balance point. Keep your weight centered over the standing foot rather than leaning into the grounded toes.
For extra reassurance, stand beside a wall or hold the back of a sturdy chair. Use just enough support to feel secure, without gripping or shifting your weight into it. You might begin with one hand on the support, then rest your fingertips there as your balance grows.
Hands at your chest offer another steady starting point. Press your palms together gently, soften your shoulders, and keep your gaze on a still point. When that feels comfortable, try raising your arms overhead or opening them into a wide, relaxed shape. Optional arm variations should feel spacious, not tense; lower your hands if your balance changes.
Progress gradually by reducing support, not by adding instability too soon. For example, move from a firm chair hold to fingertips, then practice beside the wall without touching it. Stay with each step until you can breathe comfortably and exit the pose with control. You don’t need to close your eyes or stand on an uneven surface to make the pose worthwhile.
Practicing balance with another person can be a supportive, social option. Explore safe group yoga poses with clear consent and plenty of personal space. Agree on how you’ll offer support, and avoid pulling, leaning heavily, or making sudden weight shifts. Each person should remain responsible for their own balance and be free to step out at any time.
Choose the version that suits your energy and needs today. Whether your foot stays low or your arms rise overhead, the steady foundation remains the same: a comfortable standing leg, mindful attention, and a controlled way out.
Common Tree Pose Mistakes—and How to Correct Them
Small adjustments can make tree pose yoga feel steadier and more comfortable. Rather than aiming for matching sides or a picture-perfect shape, prioritize joint comfort and control. Your tree pose may look different from someone else’s, and that’s perfectly okay.
Avoid placing your lifted foot directly on your standing knee. Pressing against the joint can feel uncomfortable and may make balance harder. Instead, rest the foot on your inner calf or thigh—or keep your toes on the floor with your heel against your ankle.
You don’t need to force your lifted hip open. Let the knee move outward only as far as feels natural, keeping your pelvis comfortably oriented forward. Forcing the position can strain the hip or twist your lower back. Likewise, avoid locking the standing knee; keep it softly engaged so the leg can respond to small shifts.
Gripping the floor with your toes or clenching your jaw can add tension without improving stability. Spread your standing foot gently, relax your face, and let your gaze settle on a steady point. If your balance wavers, return your foot to the floor, steady yourself, and try again.
Remember to breathe. Holding your breath can make the pose feel more effortful and pull your attention away from your body. Take slow, easy breaths, and lower your hands or step out whenever you need.
Choosing a variation that feels too challenging can also lead to strain or frustration. Keep a hand on a wall or chair, place your foot lower, or leave your arms by your sides. These options help you practice with care while developing balance over time.
If you’d like personal feedback, an instructor-led class can help you explore comfortable alignment at your own pace. Janelle Yoga classes offer a welcoming setting to ask questions and find guidance that supports your individual practice.
Frequently Asked Questions
Can my foot touch my knee in Tree Pose? It’s best to avoid pressing your foot directly against the side of your knee. Place it on your inner calf or thigh instead. If those positions feel uncomfortable, keep your toes on the floor and your heel near your ankle.
How long should I hold the pose? Start with a few steady breaths, then lower your foot with control. You can gradually stay longer if the pose remains comfortable. There’s no need to match someone else’s timing; a brief, mindful hold is worthwhile.
Why does my balance change from day to day? Sleep, stress, energy, and small changes in your focus can all affect balance. That variation is normal. Let each practice reflect how you feel today, rather than treating a wobble as a setback.
What if my lifted foot keeps slipping? Try placing it lower on your leg, and make sure your skin or clothing isn’t slick. Press your foot and standing leg gently toward each other without forcing them. A wall or chair can help you feel steady while you adjust.
A chair, wall, or toe-down version is a valid way to practice tree pose yoga. If pain or instability makes the pose uncomfortable, reduce the challenge or step out. Supportive settings, including a welcoming yoga community, can also help you explore adaptations at your own pace.
Practice Tree Pose with Patience and Attention
Return to the basics each time you practice: ground through a stable standing foot, place your lifted foot wherever it feels comfortable, and let your breath stay steady. A wall or chair is always available if it helps you feel more secure. Support isn’t a shortcut; it’s one way to build confidence and stay attentive.
Practice on both sides with curiosity, choosing a version you can hold with control and ease. Your balance may feel different from day to day, and that’s part of the process. Tree pose yoga develops through repeated, low-pressure practice—not by forcing your body to stay still. If pain arises, stop or modify the pose. Mindful attention matters more than how the pose looks.