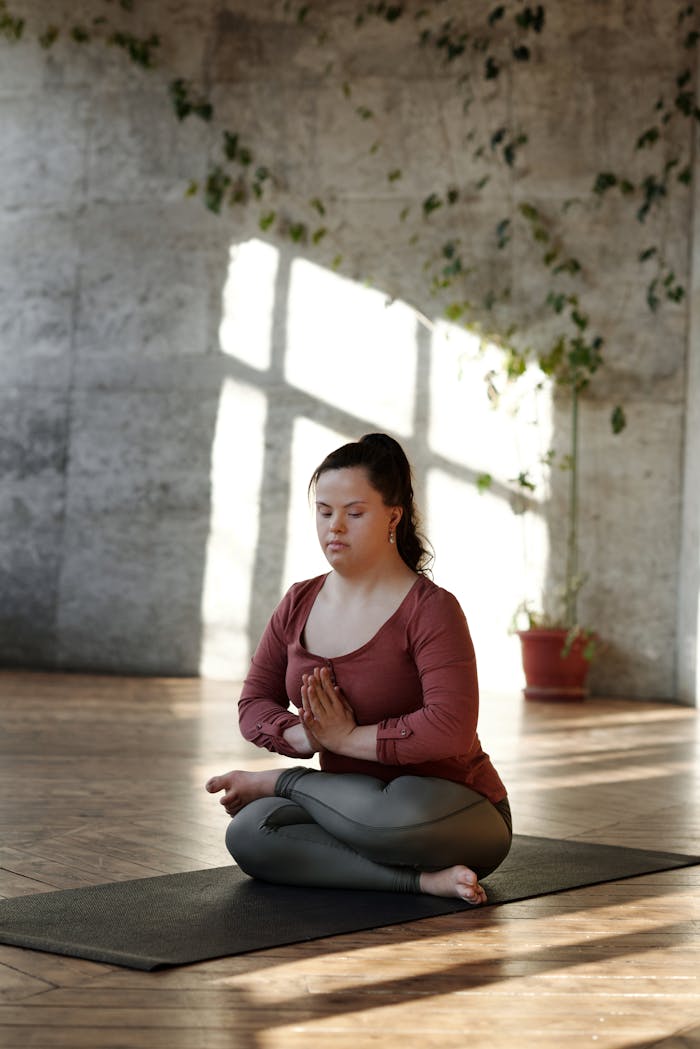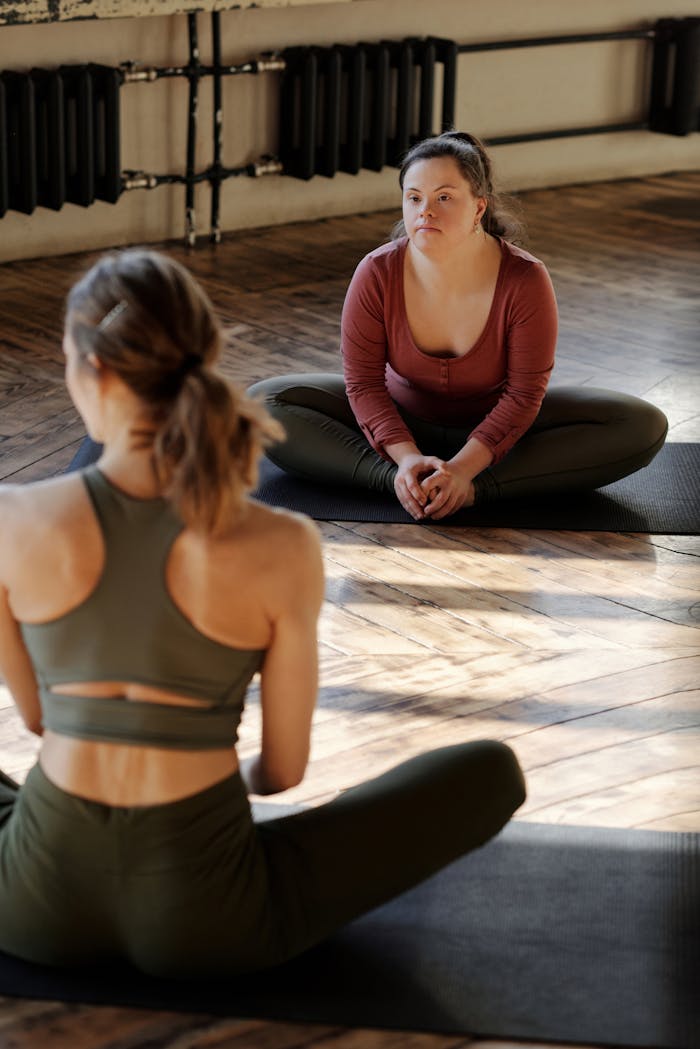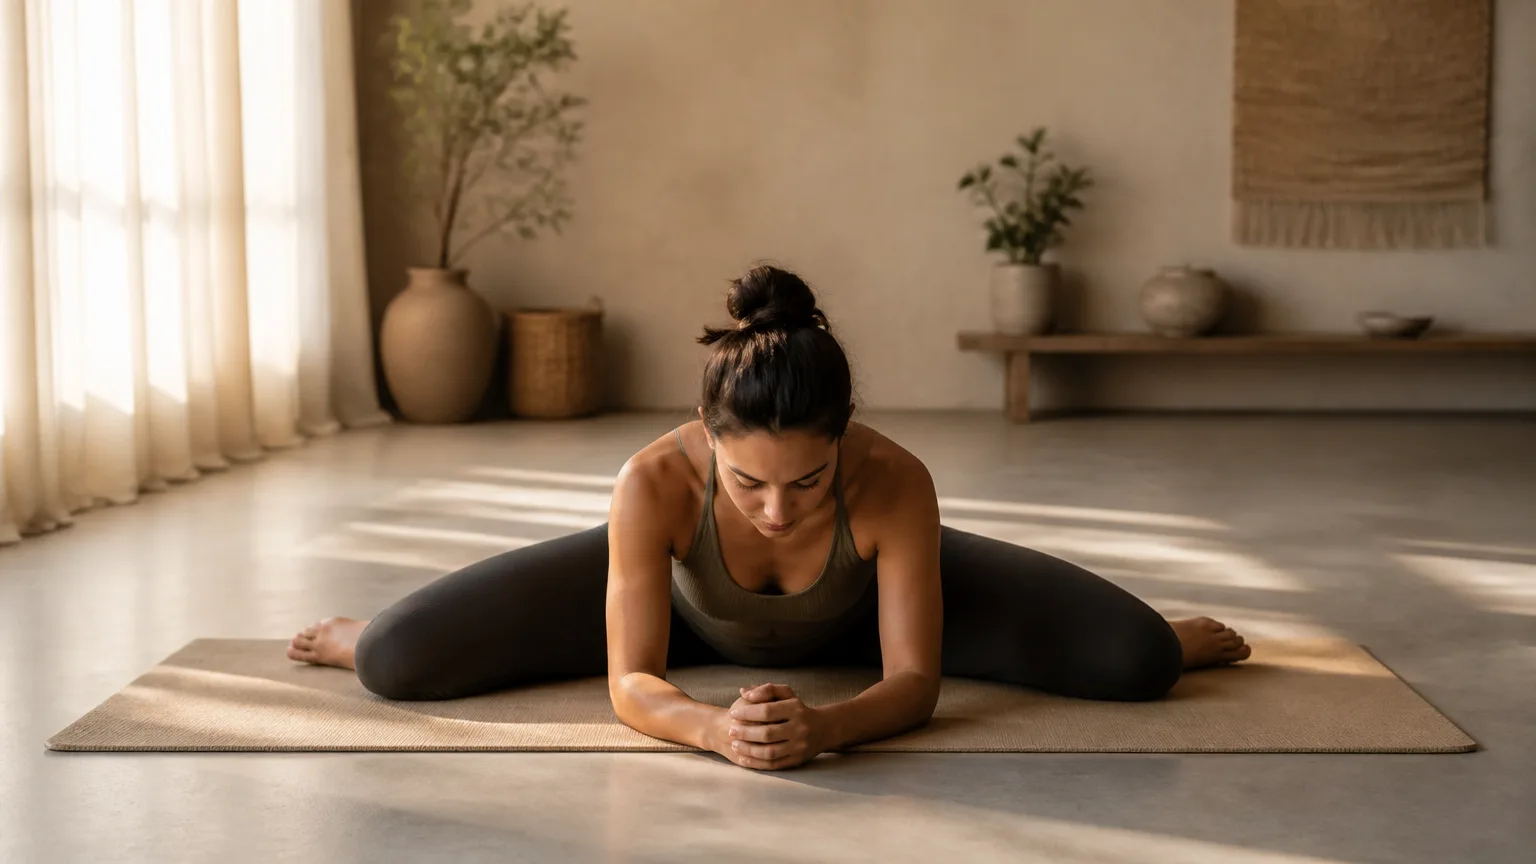
Frog pose yoga invites you to slow down and listen inward. Also known as Mandukasana in some yoga traditions, this deep hip-opening posture can support mobility, groundedness, and mindful body awareness. Rather than chasing a dramatic stretch, you’ll explore how your hips, inner thighs, and pelvis respond today.
The name “Frog Pose” may describe different shapes. Some practices use a wide-knee floor pose with the hips moving back, while others offer gentler, supported variations. This article focuses on the wide-knee floor version and shows ways to adapt it for your body, experience level, and comfort.
Approach the pose as an exploration of sensation, not a flexibility test. Move gradually, breathe slowly, and allow your range of motion to develop over time. Every body has unique anatomy, so a shape that feels spacious for one person may feel intense for another. Props and smaller movements can make the practice more comfortable and sustainable.
As you continue, you’ll learn how frog pose may benefit hip mobility, relaxation, and body awareness. You’ll also find step-by-step guidance, practical modifications, and safety considerations to help you practice with confidence. Frequently asked questions will offer further support, whether you are new to yoga or refining an established practice. For more encouraging resources on mindful movement, visit Joyous Yoga and remember that your practice can meet you exactly where you are today.
What Is Frog Pose and Which Muscles Does It Work?
Frog Pose, often called Mandukasana in yoga, is a deep hip-opening posture. The classic prone variation begins on your belly with your knees spread wide and your shins angled behind your knees. Your feet generally stay aligned with your knees, while your forearms or hands support your upper body.
From this position, you may gradually move your hips back. Only travel as far as your body allows comfortably. The shape can look simple, but it asks several areas to work together while your hips move into a wide, externally rotated position.
You may feel the strongest stretch through your inner thighs and adductors. These muscles draw your legs toward your body and help stabilize the pelvis. Because everyone has different hip structure, flexibility, and movement habits, the intensity and location of the stretch will vary.
Your hip rotators also contribute as your thighs turn outward. The glutes help control the position of your pelvis and hips, rather than simply relaxing into the floor. Some practitioners may notice engagement in the pelvic floor as they steady their breath and support the pelvis, while others may feel little sensation there.
Your shoulders, arms, and core also play important roles. The forearms or hands help support your upper body and reduce pressure on the hips. Meanwhile, your abdominal and back muscles gently stabilize your spine, especially as your hips travel backward.
Frog pose yoga can feel intense because many muscles are lengthening at once. The inner thighs may be unfamiliar with this range, and the pelvis may respond by tightening nearby muscles for protection. Slow breathing can help you notice whether your body is softening or resisting.
A healthy sensation usually feels like steady tension, warmth, or a broad stretch across the inner thighs and hips. It should remain manageable and should not force you to hold your breath. Sharp or pinching sensations, burning, numbness, tingling, or pain in the knees, hips, or other joints are signs to adjust or leave the pose.
You might narrow your knees, bring your hips forward, or add support beneath your chest or knees. These changes are not shortcuts. They allow you to explore the posture with greater awareness while respecting your body’s unique structure and needs.
Potential Benefits of Practicing Frog Pose
When practiced patiently, Frog Pose may offer a focused way to explore the inner thighs, hips, and pelvis. Its wide-knee position creates a gentle opportunity to notice how your body responds to outward movement. Benefits vary with your anatomy, experience, consistency, warm-up, and the specific Frog Pose variation you practice.
With regular, appropriate practice, Frog Pose may support greater mobility through the inner thighs and hips. This can make movements requiring a wider leg position feel more comfortable, such as certain squats, lunges, seated stretches, or transitions on the mat. Mobility develops gradually, so a deeper shape is not necessarily a better one.
The pose can also build awareness of pelvic positioning. As you settle into the posture, you may notice whether your pelvis is tipping forward, tucking under, or shifting to one side. This awareness can help you make thoughtful adjustments and understand how your pelvis, spine, and legs work together during movement.
Frog Pose may serve as preparation for other hip-opening postures. It can introduce the sensation of moving the thighs away from the body while encouraging you to practice steady breathing and mindful alignment. Pairing it with broader strength-and-mobility work, such as power yoga or controlled leg exercises, can create a more balanced practice.
A supported, sustained hold may also influence the breath. When you avoid forcing the stretch, your breathing may naturally become slower and more even. Using a bolster, folded blanket, or cushion can make it easier to soften unnecessary tension and stay connected to the present moment.
This slower pace can encourage mindfulness. You might observe sensations in the inner thighs, the movement of each breath, or the instinct to intensify the pose. Practicing curiosity instead of judgment helps turn Frog Pose into an exercise in self-awareness, not a test of flexibility.
Some practitioners experience a sense of relaxation after holding the pose comfortably. That response is more likely when the body feels supported and safe. If your breathing becomes strained or you feel sharp, pinching, or joint-related discomfort, reduce the intensity or leave the posture.
Frog Pose is not a cure for pain, posture concerns, or chronic conditions. It may complement a well-rounded approach that includes strength, mobility, rest, and guidance from a qualified professional when needed. Consider these possible benefits as invitations to explore, rather than promises.
- Inner-thigh mobility: You may gradually become more comfortable in a wider stance.
- Hip awareness: The pose can reveal how your pelvis and legs coordinate.
- Breath and focus: A gentle hold may support slower breathing and present-moment attention.
- Movement preparation: The posture can complement other hip-opening and mobility practices.
Progress may look like breathing more easily, using less support, or feeling steadier in the pose. Your best version of Frog Pose is the one that respects your structure and allows you to remain attentive.
How to Do Frog Pose Step by Step
Frog Pose is a deep inner-thigh and hip stretch, so preparation matters. Before practicing frog pose yoga, spend several minutes creating warmth through gentle, controlled movement. Try Cat-Cow, hip circles, low lunges, Child’s Pose, or slow adductor movements that open and close the legs comfortably.
Move gradually, and keep your attention on sensation rather than appearance. Frog Pose should create a manageable stretch through the inner thighs, not sharp pain, pressure, or strain in the knees, hips, or ankles.
-
Begin on hands and knees. Place your hands beneath your shoulders and your knees beneath your hips. Spread your fingers and press gently through your palms to create stability.
-
Widen the knees slowly. Move one knee outward, then the other, pausing whenever you need to assess the sensation. Keep your knees within a tolerable range rather than forcing them toward the floor.
-
Align your lower legs. Bring your ankles roughly in line with your knees, allowing your feet to point outward. Avoid collapsing the ankles inward or twisting the feet. If this alignment feels uncomfortable, bring your knees closer together.
-
Lower onto your forearms if comfortable. You may stay on your hands while you become familiar with the pose. If you lower down, place your elbows beneath or slightly ahead of your shoulders, and rest your forearms on the mat.
-
Engage your center gently. Draw the lower belly inward without gripping or holding your breath. This light core support helps protect your lower back as your hips begin to move.
-
Shift the hips back gradually. Move only toward the edge of manageable sensation. Your hips do not need to reach your heels, and your thighs do not need to become parallel with the floor. Stop well before the stretch becomes intense or unstable.
As you settle, check your posture from the ground up. Keep the knees supported by the mat or padding when possible, and maintain a comfortable relationship between your knees, ankles, and feet. Let your shoulders remain relaxed, rather than creeping toward your ears.
Use your breath as a guide. Inhale slowly and create space through your ribs and spine. As you exhale, soften around the hips without pushing deeper. If your breath becomes shallow, strained, or difficult to control, reduce the range or return to a gentler variation.
For beginners, hold Frog Pose for several calm breaths or about 20–30 seconds. You can place a folded blanket beneath your knees or chest for extra support. Practitioners who enjoy building body awareness may also explore other strength-based shapes, such as Crow Pose Yoga, while remembering that every posture has different demands.
To exit, slowly slide your knees closer together before bringing your hips toward your heels. Return to hands and knees, then rest in Child’s Pose or another neutral recovery position. Take a few easy breaths and notice how your hips and inner thighs feel.
Never bounce, force, or compete with another practitioner’s range. Frog Pose is a personal exploration, and a smaller shape can be deeply effective when practiced with patience, steadiness, and care.
Frog Pose Modifications for Beginners and Different Bodies
Frog Pose can be adjusted in many ways while preserving its mindful purpose. The goal is not to reach the floor or create the widest shape. Instead, choose a version that supports steady breathing, control, and a clear sense of your body.
Begin by narrowing your knees. A smaller distance often reduces pressure in the hips, inner thighs, ankles, and lower back. You can also practice with your hips higher rather than sinking back, keeping more lift through the pelvis and less intensity through the groin.
Place a folded blanket beneath your knees or ankles for cushioning. This support can make the posture more comfortable when the floor feels firm or your ankle mobility is limited. If your knees feel sensitive, experiment with a thicker layer rather than trying to tolerate discomfort.
You may also support your torso with a bolster or stacked pillows. Rest your chest, ribs, or forehead on the support, depending on what feels most natural. Blocks beneath the forearms or chest can reduce strain in the shoulders, wrists, neck, and lower back while helping you stay present.
Try these options to make frog pose yoga more accessible:
- Place blocks under your forearms if reaching the floor makes your shoulders or wrists tense.
- Support your chest with a bolster if your lower back feels compressed.
- Keep the hips lifted and move slightly forward instead of resting deeply toward the heels.
- Practice a dynamic rocking version, gently shifting forward and back through a small range.
- Choose a supported wide-knee Child’s Pose when a stationary stretch feels too intense.
For an even gentler alternative, try Supine Bound Angle Pose. Lie on your back, bring the soles of your feet together, and allow your knees to open only as far as comfortable. Blankets or blocks beneath the thighs can provide reassurance and reduce effort.
Your ideal setup depends on more than flexibility. Hip structure, leg proportions, ankle mobility, previous training, and daily energy can all influence how Frog Pose looks and feels. A narrower shape may be more suitable for one person, while another may need extra height beneath the hips or more support beneath the torso.
If you are pregnant or adapting your practice during pregnancy, seek individualized guidance from a qualified teacher. Prenatal yoga classes can offer thoughtful alternatives for changing balance, mobility, and comfort needs.
Let your breath guide the choice. If you can breathe smoothly and move with control, the modification is doing its work, even when your knees or chest remain far from the floor.
Safety Precautions, Common Mistakes, and When to Skip Frog Pose
Frog pose yoga can create a strong stretch across the inner thighs, hips, and groin. Because the position places pressure on several joints, practice slowly and stay within a range you can control.
Use extra caution if you have a current knee, hip, groin, ankle, pelvic, or lower-back injury. Recent surgery, joint instability, or unexplained pain also call for professional guidance before trying the pose. A qualified yoga instructor or healthcare professional can help you decide whether Frog Pose is appropriate.
Pregnancy, hypermobility, and pelvic-floor concerns may require individualized modifications. A generic version of the pose may not meet your needs safely. Seek support from someone trained to work with your specific condition, and avoid treating flexibility as a measure of progress.
Common Mistakes to Avoid
Forcing the knees apart is one of the most frequent errors. Instead, widen your knees gradually and stop before you feel strain in the joint. Keep your feet active and avoid letting them collapse inward, which can place unnecessary stress on the ankles and knees.
Avoid sinking the hips quickly toward the floor. Lower your body in stages, using blankets, bolsters, or your hands for support. Your hips do not need to reach the mat for the pose to be effective.
Holding your breath can cause your muscles to brace. Breathe slowly and evenly, allowing each exhale to soften tension without pushing deeper. Frog Pose is not a competition, so avoid comparing your range with another practitioner’s shape.
Warning Signs and When to Stop
You should feel a manageable stretch or gentle post-stretch awareness in the inner thighs and hips. Sharp pain is different and signals that you should exit immediately. Also stop if you notice tingling, numbness, cramping, dizziness, or discomfort that continues after the pose.
To come out, shift your hips back slowly, draw your knees closer together, and rest in a comfortable neutral position. Take a few easy breaths before deciding whether to continue. If symptoms persist, worsen, or return repeatedly, contact a qualified healthcare professional.
Yoga instruction can support mindful movement, but it does not replace medical diagnosis or treatment. When in doubt, choose a gentler variation or skip Frog Pose until you have personalized guidance.
How to Add Frog Pose to a Balanced Yoga Practice
Frog Pose fits best within a balanced practice rather than as a stand-alone challenge. Begin with a general warm-up, then explore the pose around the middle or end of your session. Your body should feel prepared, but you should still have enough energy to maintain steady alignment and control.
Pair frog pose yoga with movements that support your whole body. Gentle hip extension, hamstring mobility, glute engagement, and neutral-spine work can create helpful balance. For example, try Low Lunge with the back knee lifted, a gentle Bridge Pose, or a slow tabletop sequence before settling into Frog Pose. Follow it with restorative poses instead of stacking several intense hip stretches.
A short sequence might look like this:
- Warm up with Cat-Cow, easy squats, and a few rounds of gentle lunges.
- Practice Frog Pose for several calm breaths, or choose a supported variation.
- Return to a neutralizing shape, such as Child’s Pose, Tabletop, or lying on your back.
- Finish with quiet breathing, allowing your hips and inner thighs to soften without forcing them.
Let the pose support your movement goals, not define them. Notice whether you can walk, squat, change direction, or sit more comfortably. These functional improvements often matter more than bringing your knees closer to the floor.
Consistency also matters more than intensity. One to three mindful sessions each week may be more useful than forcing a deep stretch every day. Between sessions, give your tissues time to recover and include strength, stability, and relaxed movement.
Consider tracking your comfort, breathing, and control after practice. You might record which variation felt supportive or how your hips moved during everyday activities. This approach builds awareness without turning flexibility into a competition.
With patience, Frog Pose can become one part of a sustainable practice. Mobility gains should help you feel more at home in your body and more confident in daily movement. The goal is not maximum depth, but a steady relationship with movement that continues to serve you.
Frequently Asked Questions About Frog Pose Yoga
What is Frog Pose good for?
Frog Pose can support inner-thigh mobility and help you notice how your hips move. It also invites mindful breathing while you explore a wide-legged position. Benefits vary by body, so focus on comfortable awareness rather than expecting dramatic change.
How long should I hold Frog Pose?
If you are new to frog pose yoga, begin with a short, controlled hold of three to five breaths. Stay only while you can breathe smoothly and remain free from sharp pain, pinching, or joint pressure. Over time, you may hold longer if the posture continues to feel steady and supported.
Why does Frog Pose hurt my knees?
Knee discomfort may come from placing the knees too wide, misaligning the feet and knees, or practicing without enough support. Cold tissues can also make the position feel intense. Narrow your stance, cushion your knees, and warm up first. If discomfort continues, Frog Pose may not be appropriate today.
Is Frog Pose suitable for beginners?
Beginners can practice a supported or narrower version, ideally with guidance from a qualified teacher. You do not need to recreate a dramatic shape. Keep your hips higher, place support beneath your chest, and move only within a range that allows relaxed breathing.
What can I do instead of Frog Pose?
Try a supported butterfly pose, a gentle kneeling hip stretch, or a supine inner-thigh stretch. These alternatives can explore a similar mobility goal without copying Frog Pose’s exact shape. Choose the option that feels manageable, stable, and symptom-free for your body.
Build a More Mindful, Sustainable Frog Pose Practice
Frog Pose can support hip mobility, inner-thigh awareness, and a deeper connection with your breath. Its value comes from controlled movement, steady breathing, and appropriate sensation—not from opening the knees widely or lowering the hips as far as possible.
Begin with support beneath your knees, chest, or hips, and build your practice gradually. Consistency matters more than intensity. If injury, pregnancy, hypermobility, or persistent symptoms affect your experience, seek guidance from a qualified teacher or healthcare professional.
Let each step remain purposeful: prepare your body, enter slowly, breathe without strain, and leave the pose with control. Modifications are valuable tools, not lesser versions of the posture. You can also explore complementary practices, such as Jnana Yoga, to deepen self-awareness beyond physical movement.
Most importantly, let Frog Pose become a mindful pause. Notice your boundaries, soften unnecessary effort, and listen closely to your body. This awareness can help you build a sustainable practice rooted in patience, respect, and self-trust.